Keyboard Cap Design Project
Abstract
This hands-on project guides you through the process of designing and creating your own customised keyboard cap using digital sculpting and 3D printing. You'll learn how to produce a keycap for your mechanical keyboard, and then add your own design on top of the keycap. This project blends creativity, digital modeling, and practical prototyping.
What You Will Learn
- How to design your very own customised keyboard cap for most keyboards
- Techniques for digital sculpting and modeling in Nomad Sculpt and/or Fusion 360
- Preparing and slicing models for 3D printing
- Basics of 3D printing and post-processing
What You Will Need
| Category | Item | Notes | Required/Optional |
|---|---|---|---|
| Hardware | Laptop/Desktop/iPad | For digital sculpting, modelling and slicing | Required |
| 3D Printer | FDM or resin | Required | |
| Software | Nomad Sculpt or Fusion 360 | For 3D modeling | Required |
| Slicing Software | Chitubox, Bambu Studio | Required | |
| Tools & Materials | 3D Printer Filament/Resin | PLA, PETG, or resin | Required |
| Finishing Tools | Sandpaper, files, rotary tool | Optional | |
| Painting Tools | Brushes, acrylics, pastel paints | Optional | |
| Keycap Mechanical drawing | For MX-style switches | Optional |
Course Outline
Chapter 1: Model the keycap using Fusion 360 or equivalent CAD software
- Overview of keyboard cap anatomy and MX stem compatibility
- (For advanced students) Measure and recreate an existng keycap and ensure it fits the provided keyboard
- (For intermediate students) Model and recreate the keycap using the given mechanical drawing
Chapter 2: Add design to the keycap using various tools
- Make use of AI model generators to help creating a design for the keycap
- Use Nomad Sculpt to create and edit designs
- Import the keycap stem created in Chapter 1, and the combine with the design created in Nomad Sculpt.
Chapter 3: Preparing for 3D Printing
- Optimisation for 3D printing
- Exporting STL files from your modeling software
- Importing into slicer
- Configuring print settings for small, detailed parts
- Previewing and slicing the model
- 3D print
Chapter 4: Post-Processing and Finishing
- Removing supports and cleaning the print
- Sanding and smoothing surfaces
- Painting and finishing
- Assembling and testing the keycap on your keyboard
Project Steps - Adapting the Project to Skill Level
This project can be tailored to different experience levels, from beginners to advanced makers. Here’s how you can approach each step:
1. Creating a customised keycap
Objective: Build a 3D model of the key cap
-
Contents:
-
For Advanced Students:
- Start by carefully measuring an existing keycap using calipers or a ruler.
- Record key measurements such as width, height, stem size, and overall profile.
- Optionally, refer to a mechanical drawing or datasheet for precise specifications.
- In Fusion 360, create the keycap base using your measured dimensions or the provided mechanical drawing.
- Model the MX-style stem to ensure compatibility with your keyboard switches.
- Design a customised keycap in Fusion 360 or Nomad Sculpt and combine it with the existing keycap base.
-
Export your finished model as an STL file, slice and print it, then post-process (remove supports, sand, and paint) for a realistic finish.
-
For Intermediate Students:
- Use the provided mechanical drawing or reference model for the keycap stem and base dimensions.
-
Model the keycap base in Fusion 360, using basic tools like Extrude.
-
For Beginner/Younger Groups:
- Skip the measuring and base modelling steps. Use the pre-made keycap stem model instead.
- Focus on the creative aspects: in Nomad Sculpt or Fusion 360, create your own design, and attach it to the provided base.
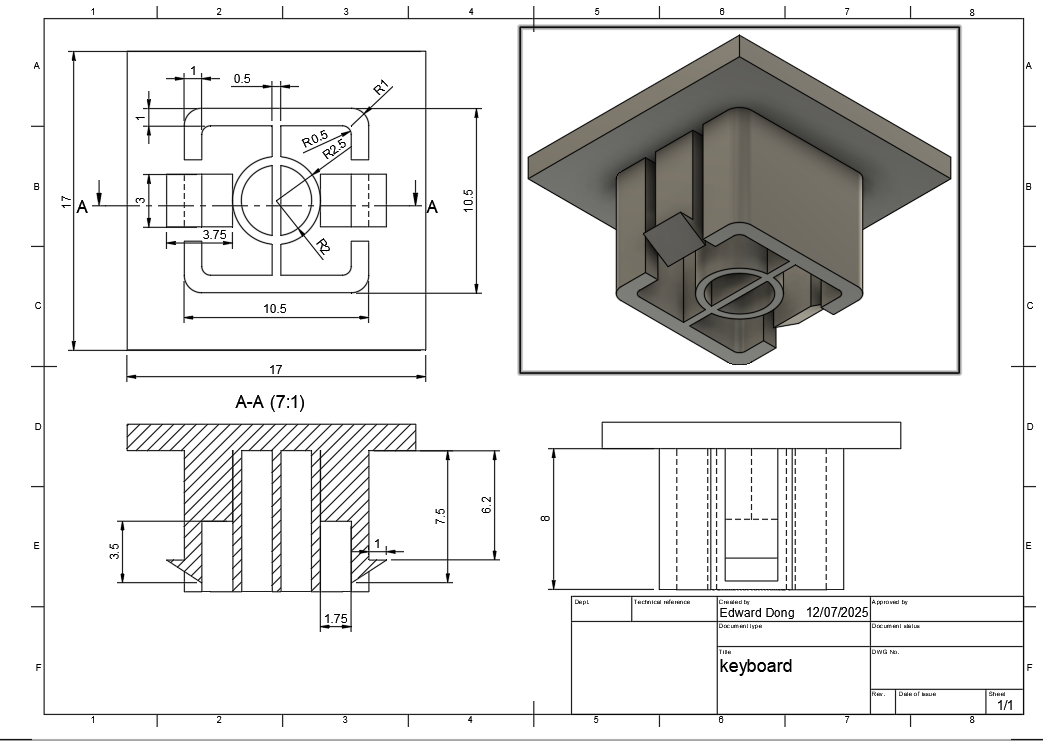
Mechanical drawing of the keycap stem:
2. Design the keycap
Objective: Add more aesthetical or personal designs onto the keycap
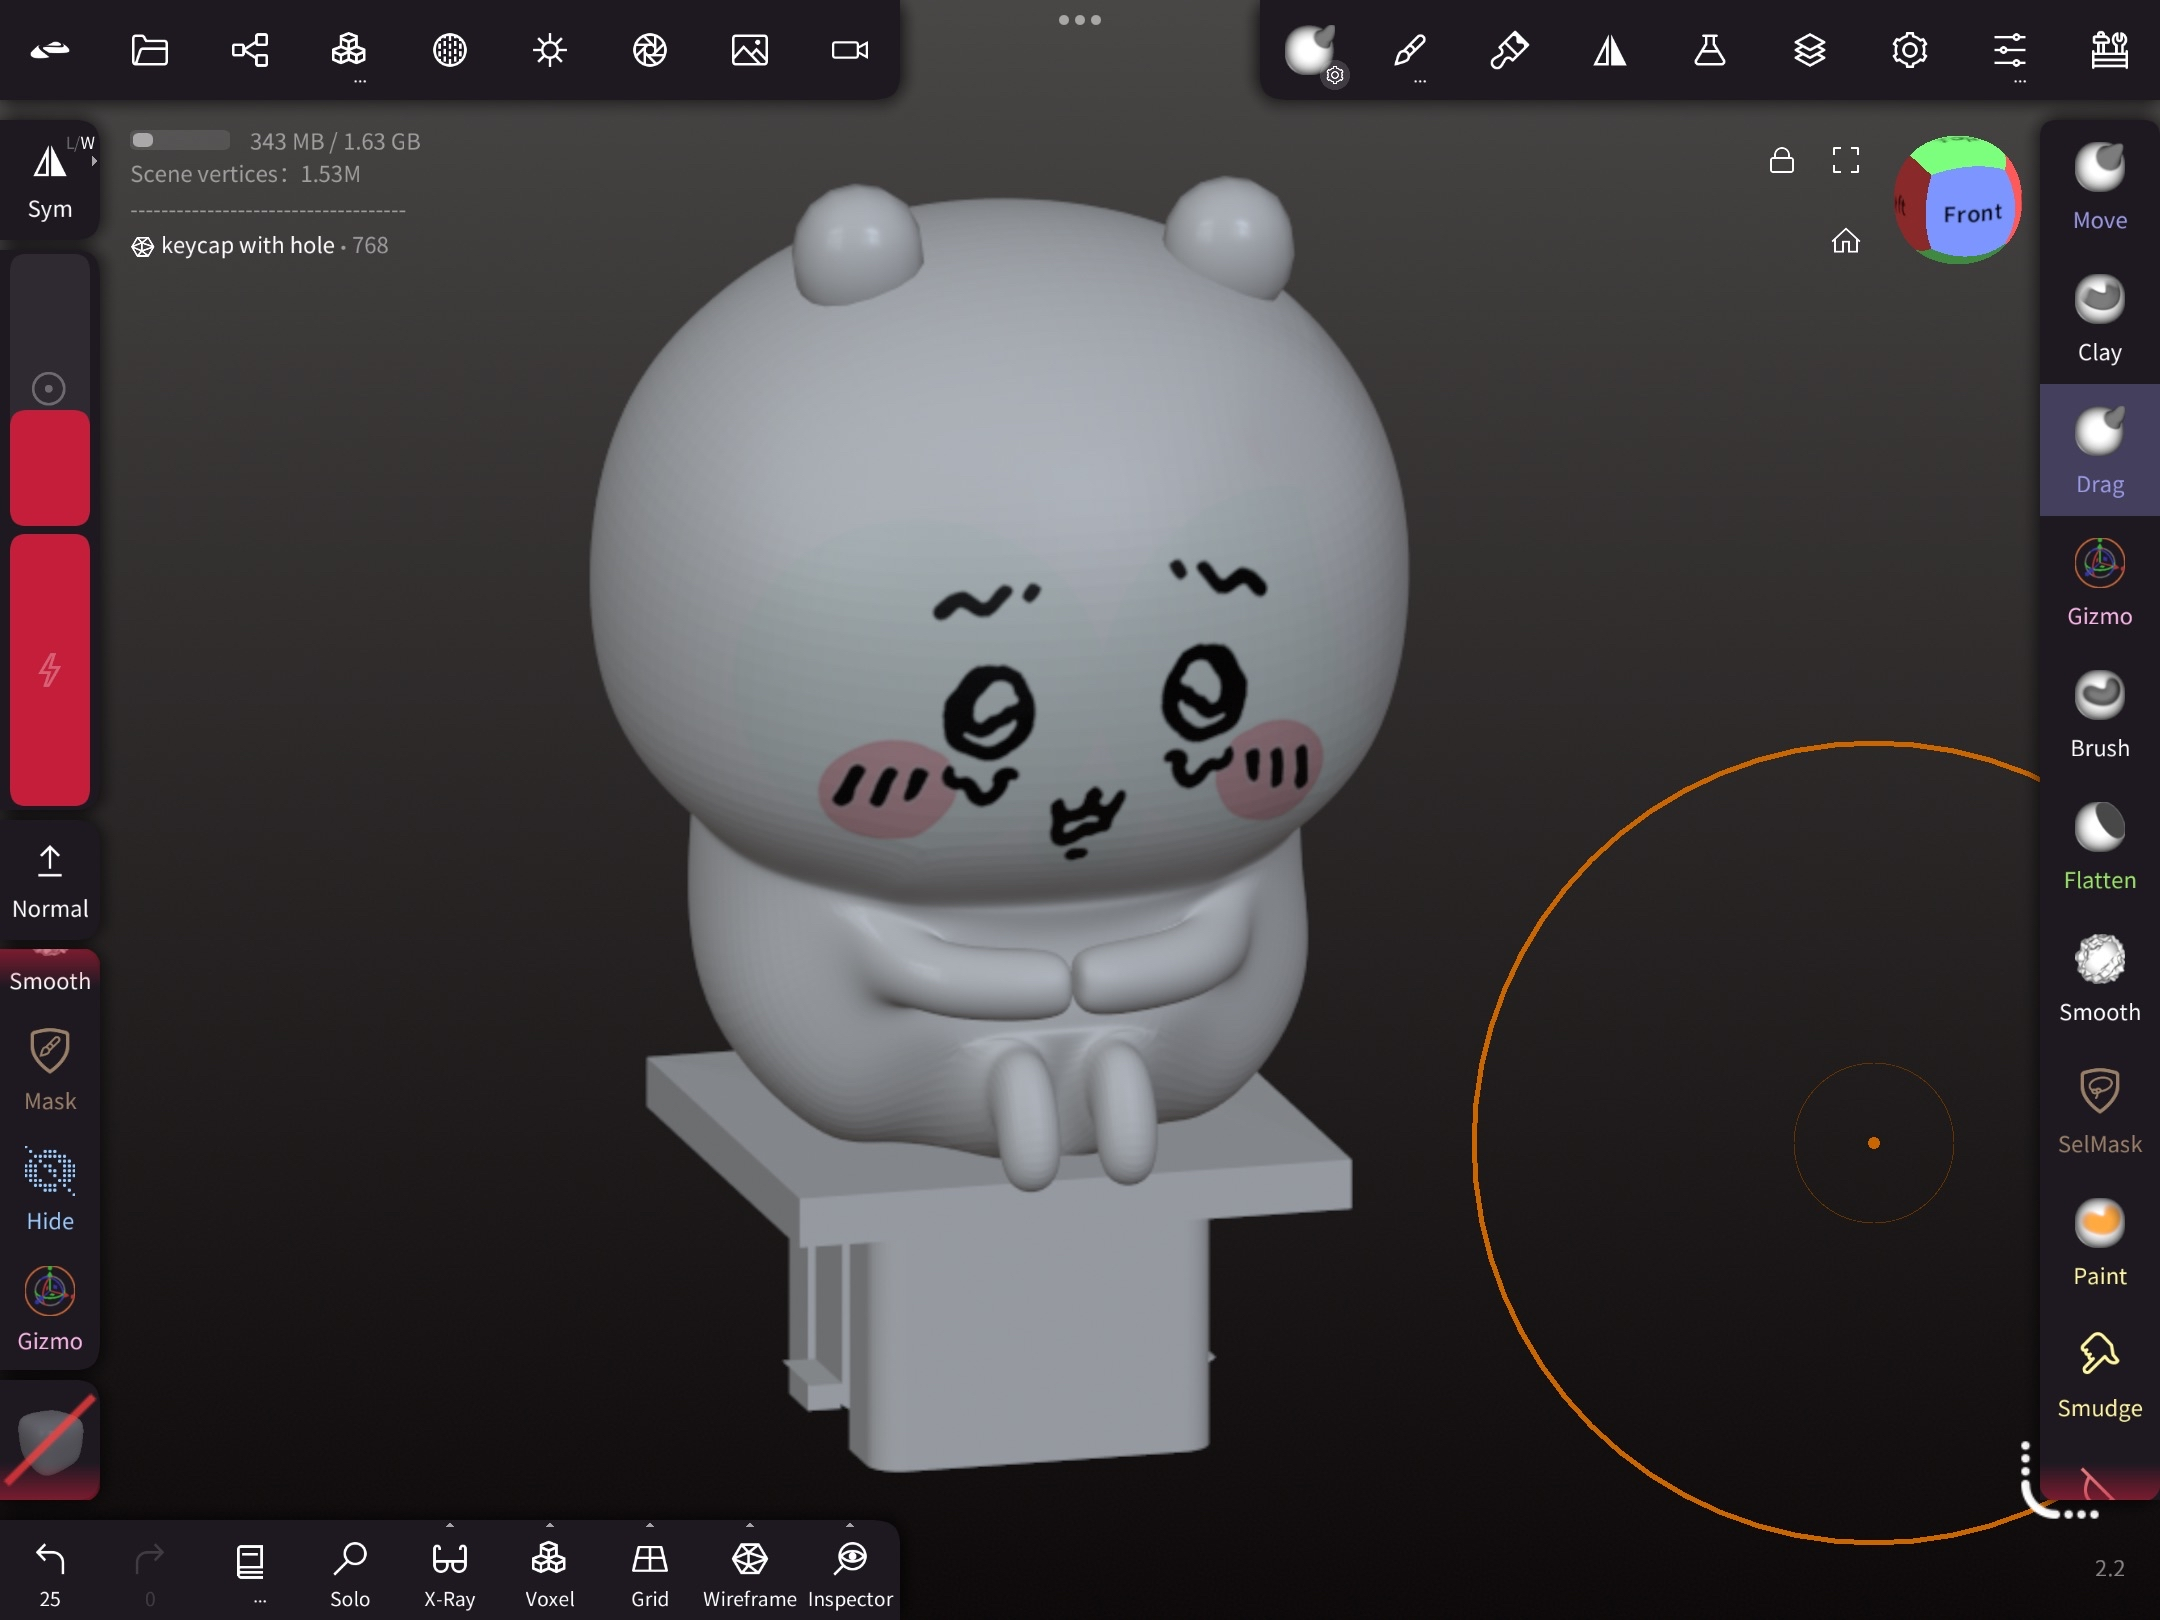
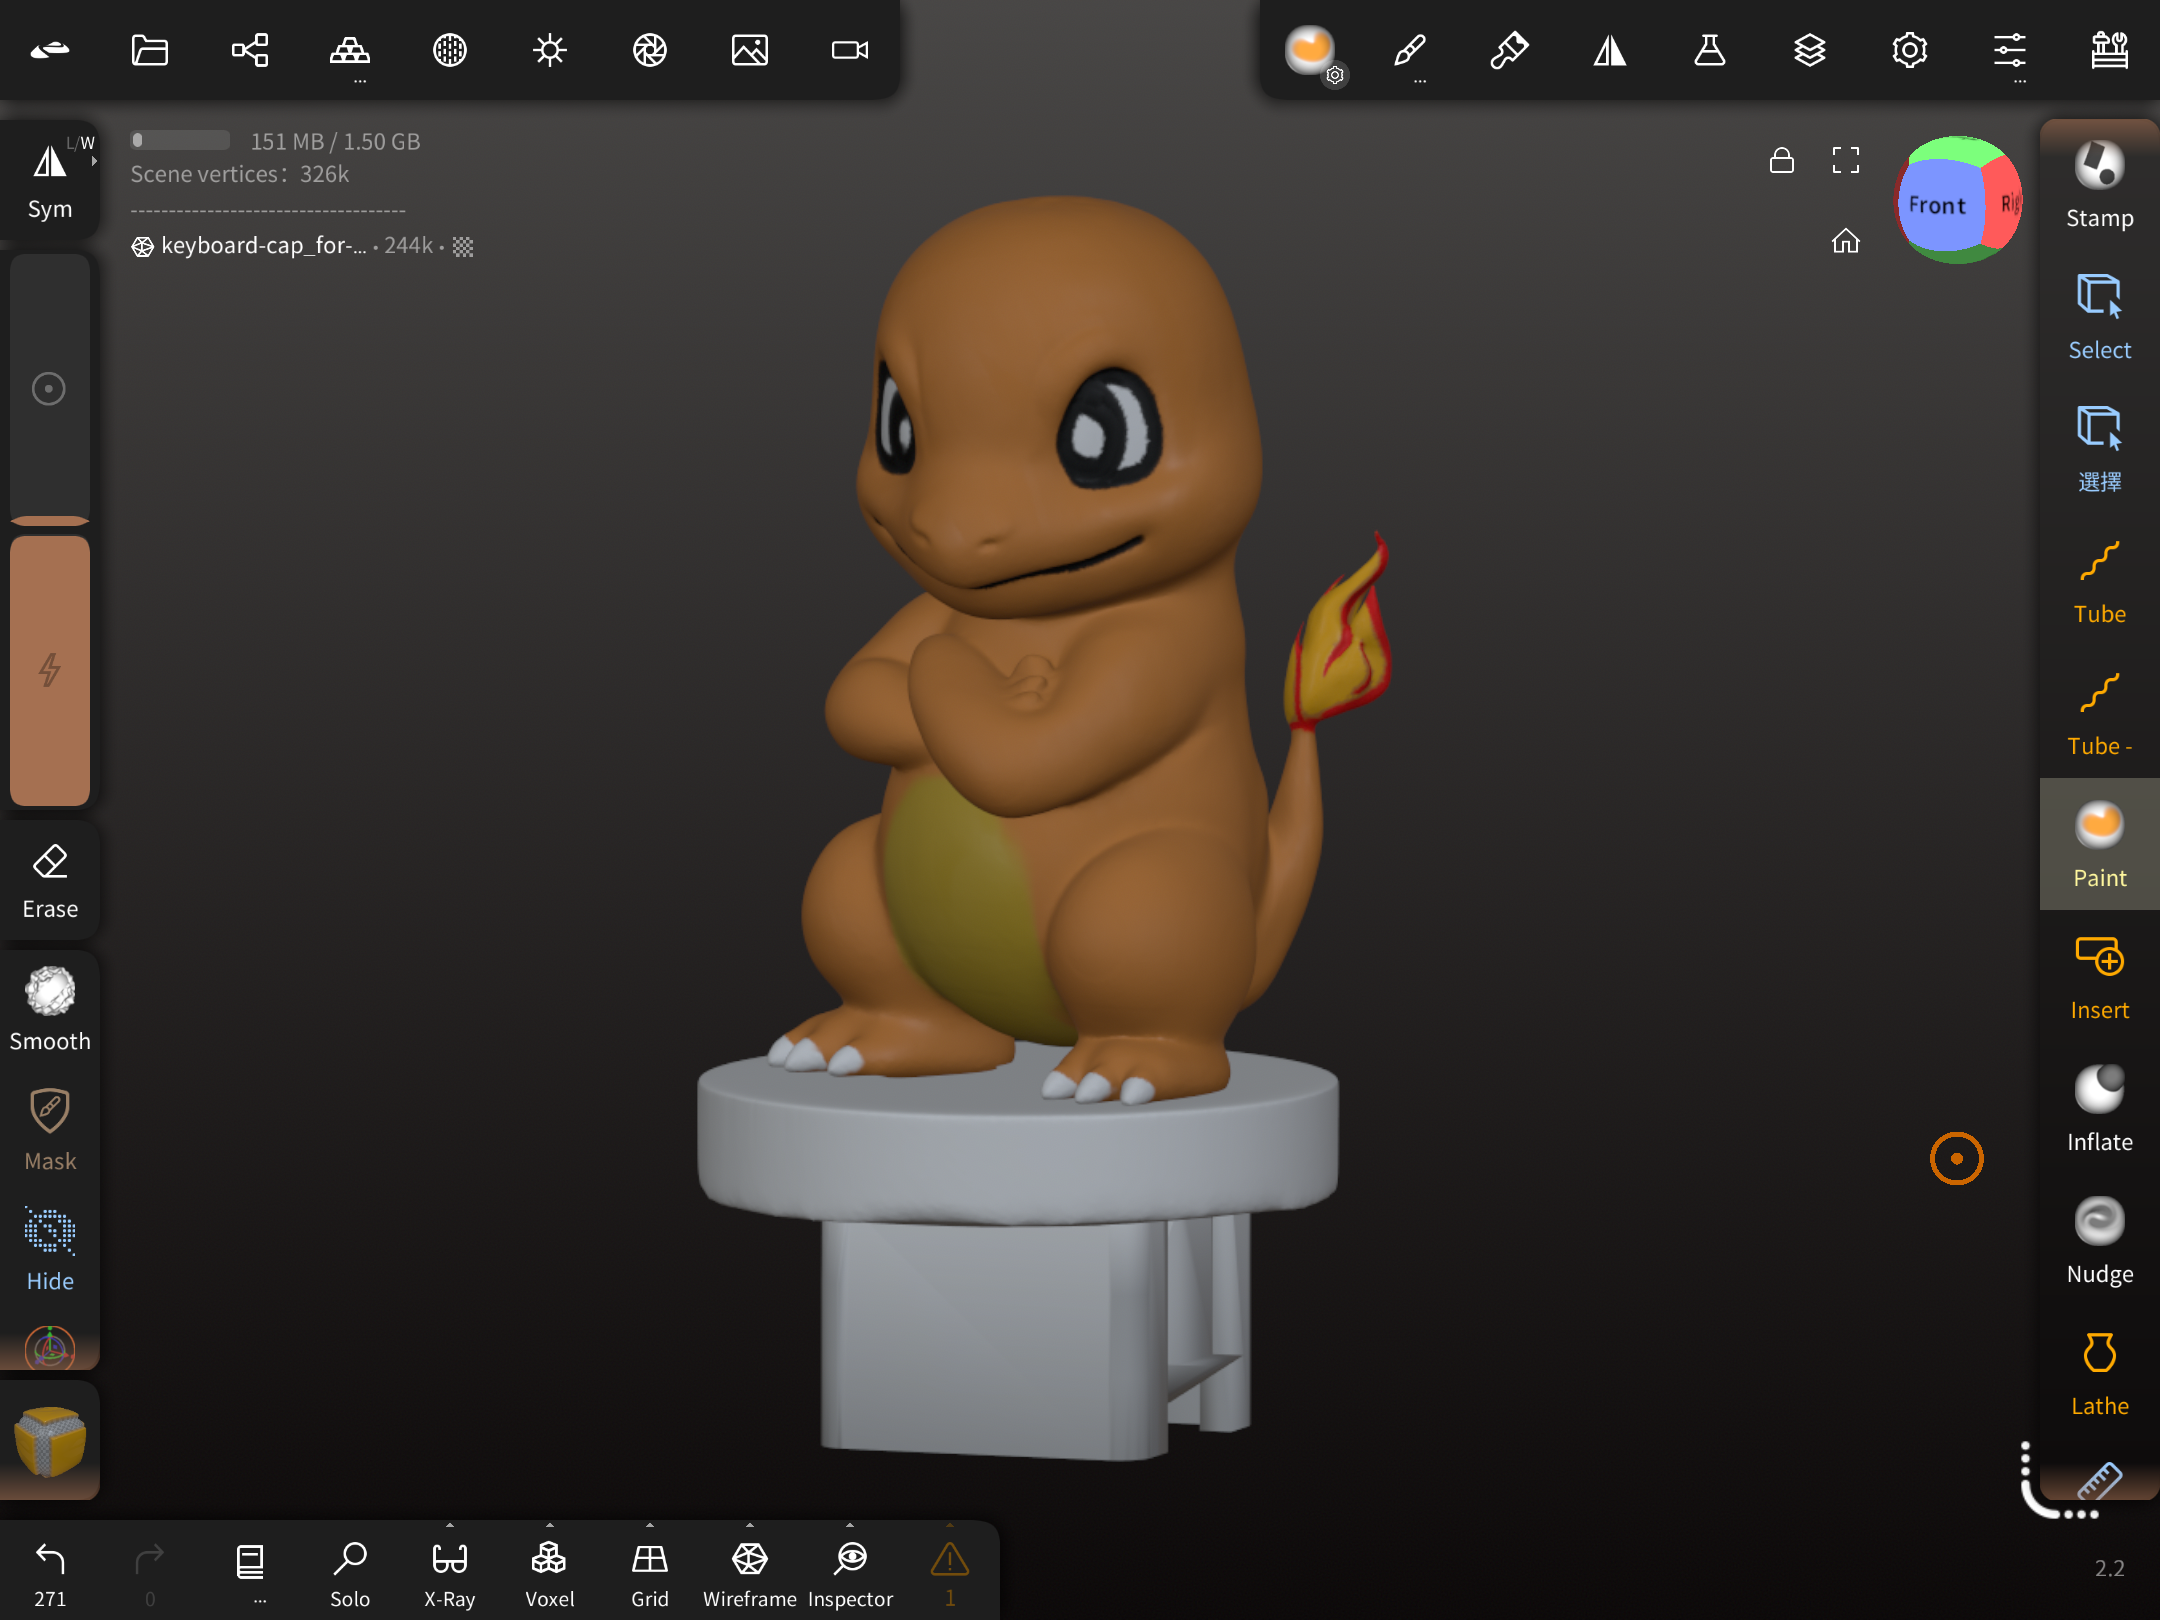
In Nomad Sculpt: - Learn Using sculpting tools to create a pokemon Figure. - Import the keycap model from Fusion 360 to Nomad Sculpt. - Resize and assemble the pokemon figure with the keycap - (optional) Paint the digital model for multi-colour printing - Export the finished model for 3D printing.
3D modelling in Nomad
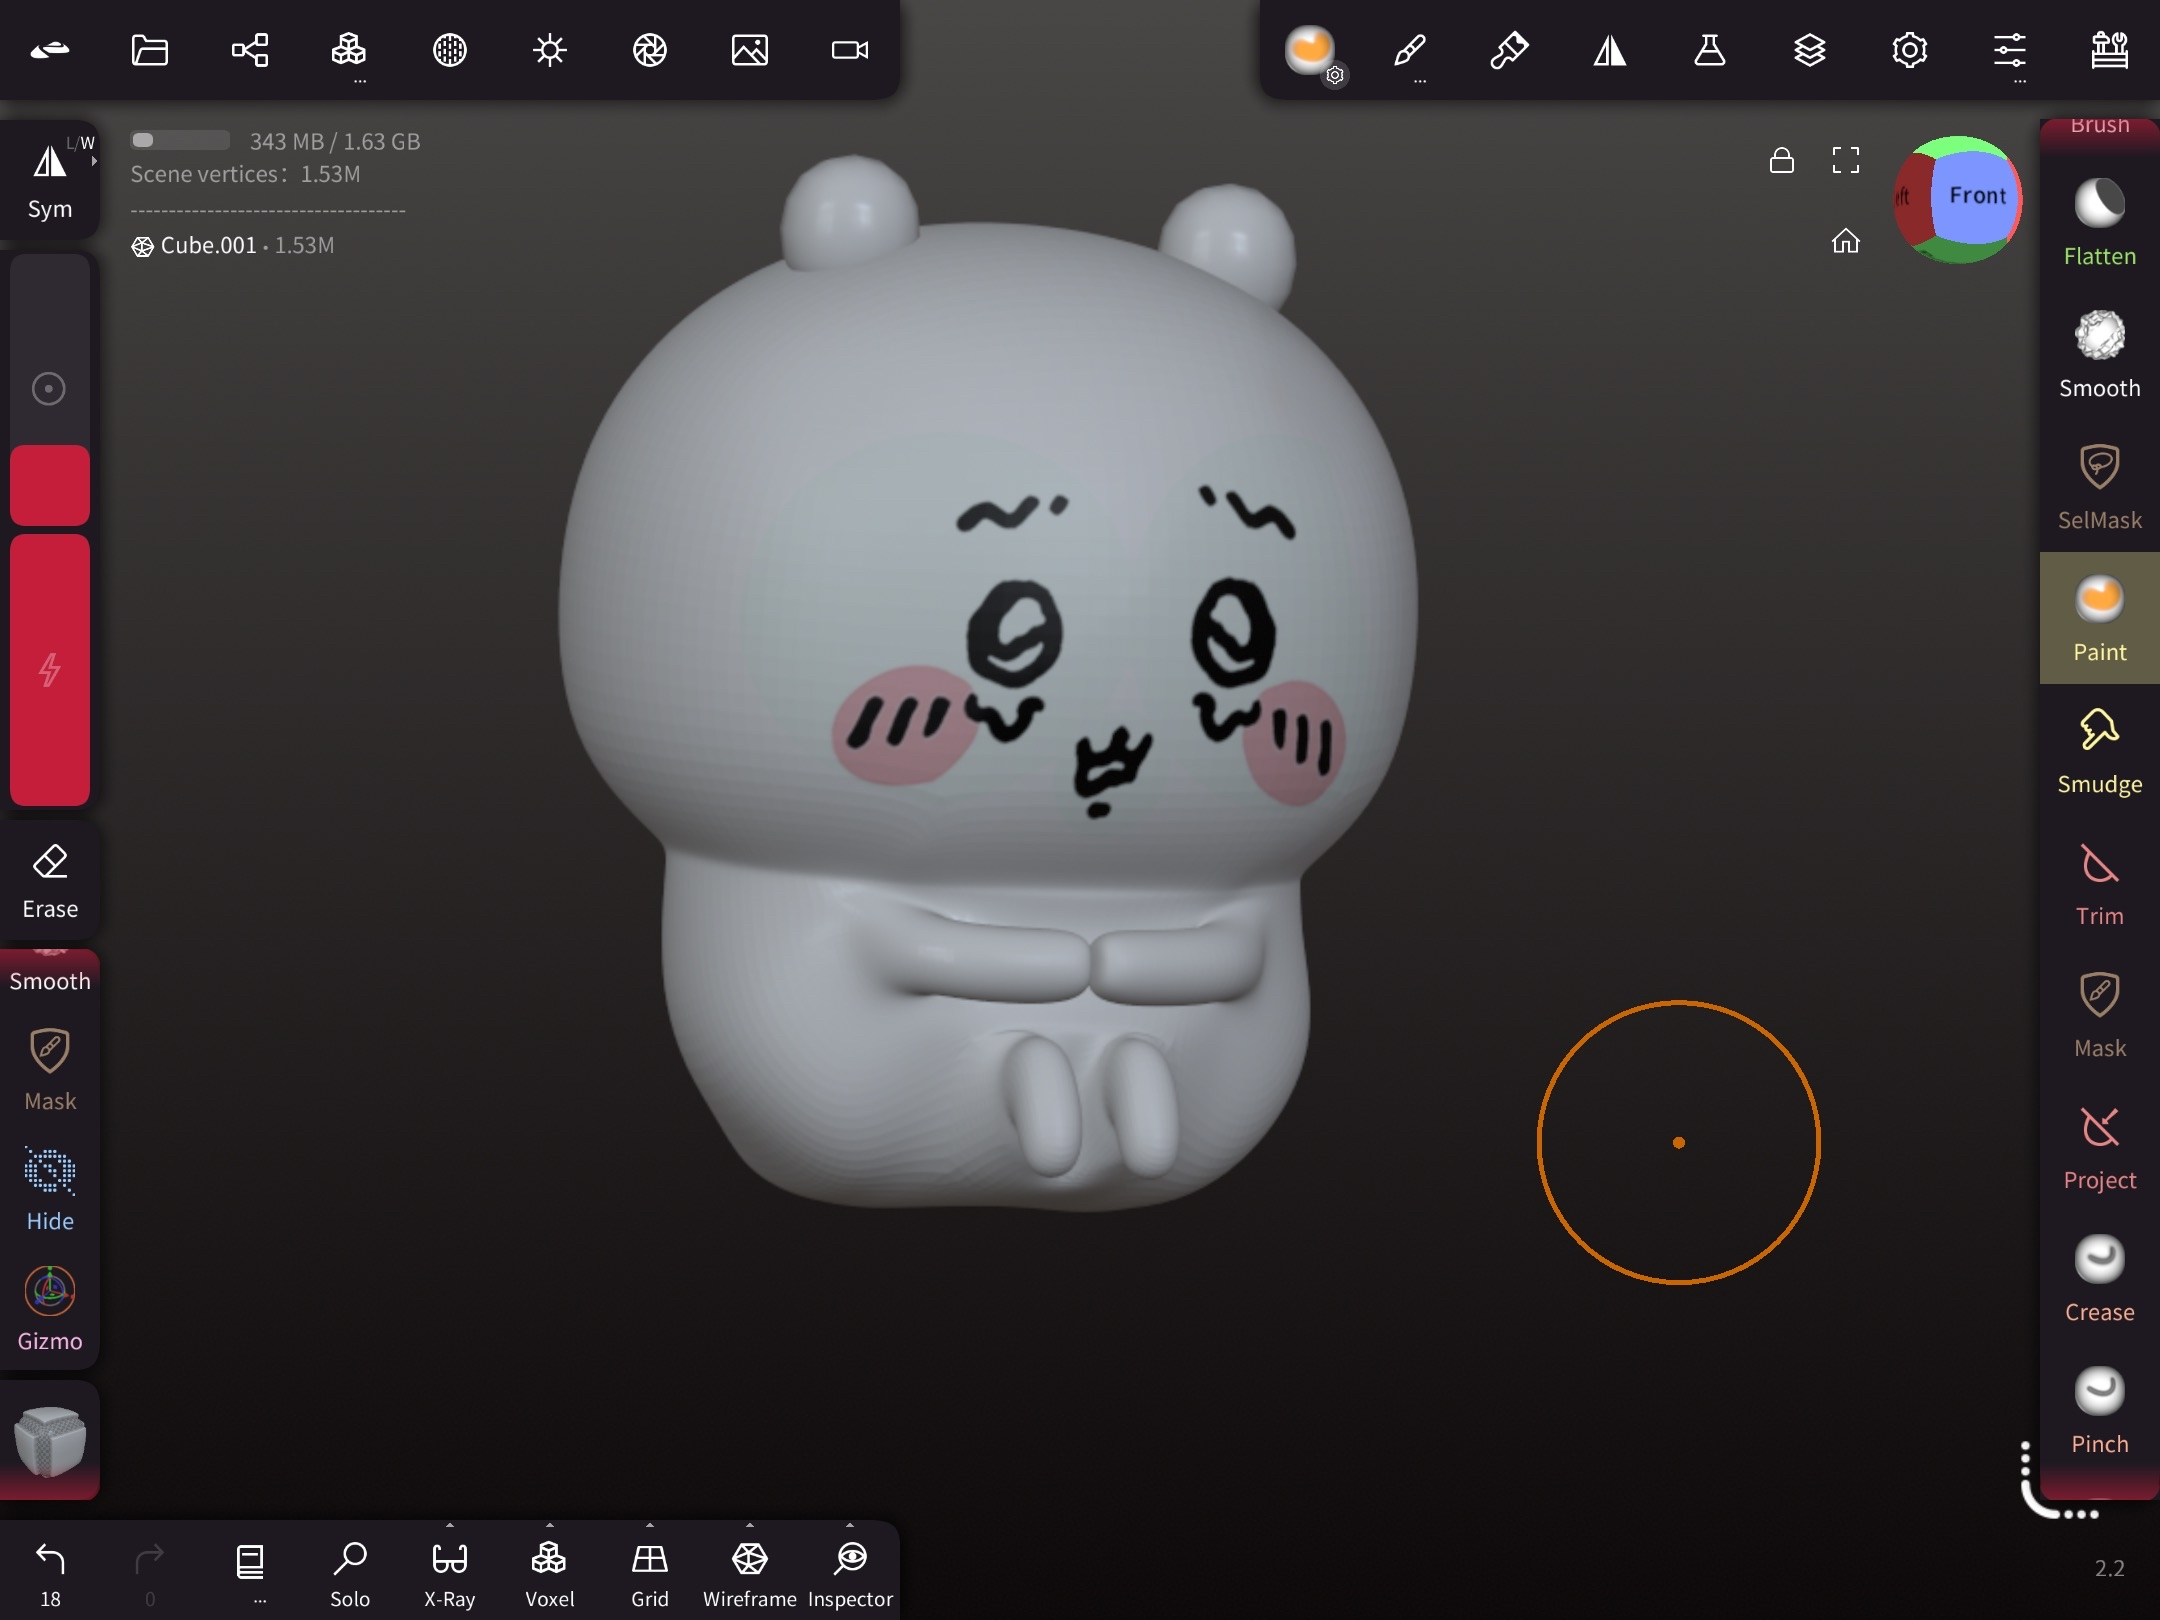
Import keycap model and fit the figure onto the stem
Mix and match: You can use Fusion 360 for precise fitting, then import into Nomad for sculpting details , or vice versa. This way, you get both creative freedom and engineering accuracy for your Pokemon-themed keycaps!
AI tools:
- Students can make use of AI modelling tools like Tripo AI to simplify the modelling process
- They can first generate or find a rendered image of their intended design, using tools like Gemini or ChatGPT, and then use Tripo AI to generate the model.
- Then import to Nomad Sculpt and edit the model.
- This can allow students to create more complicated designs and experience using AI to optimise workflow.
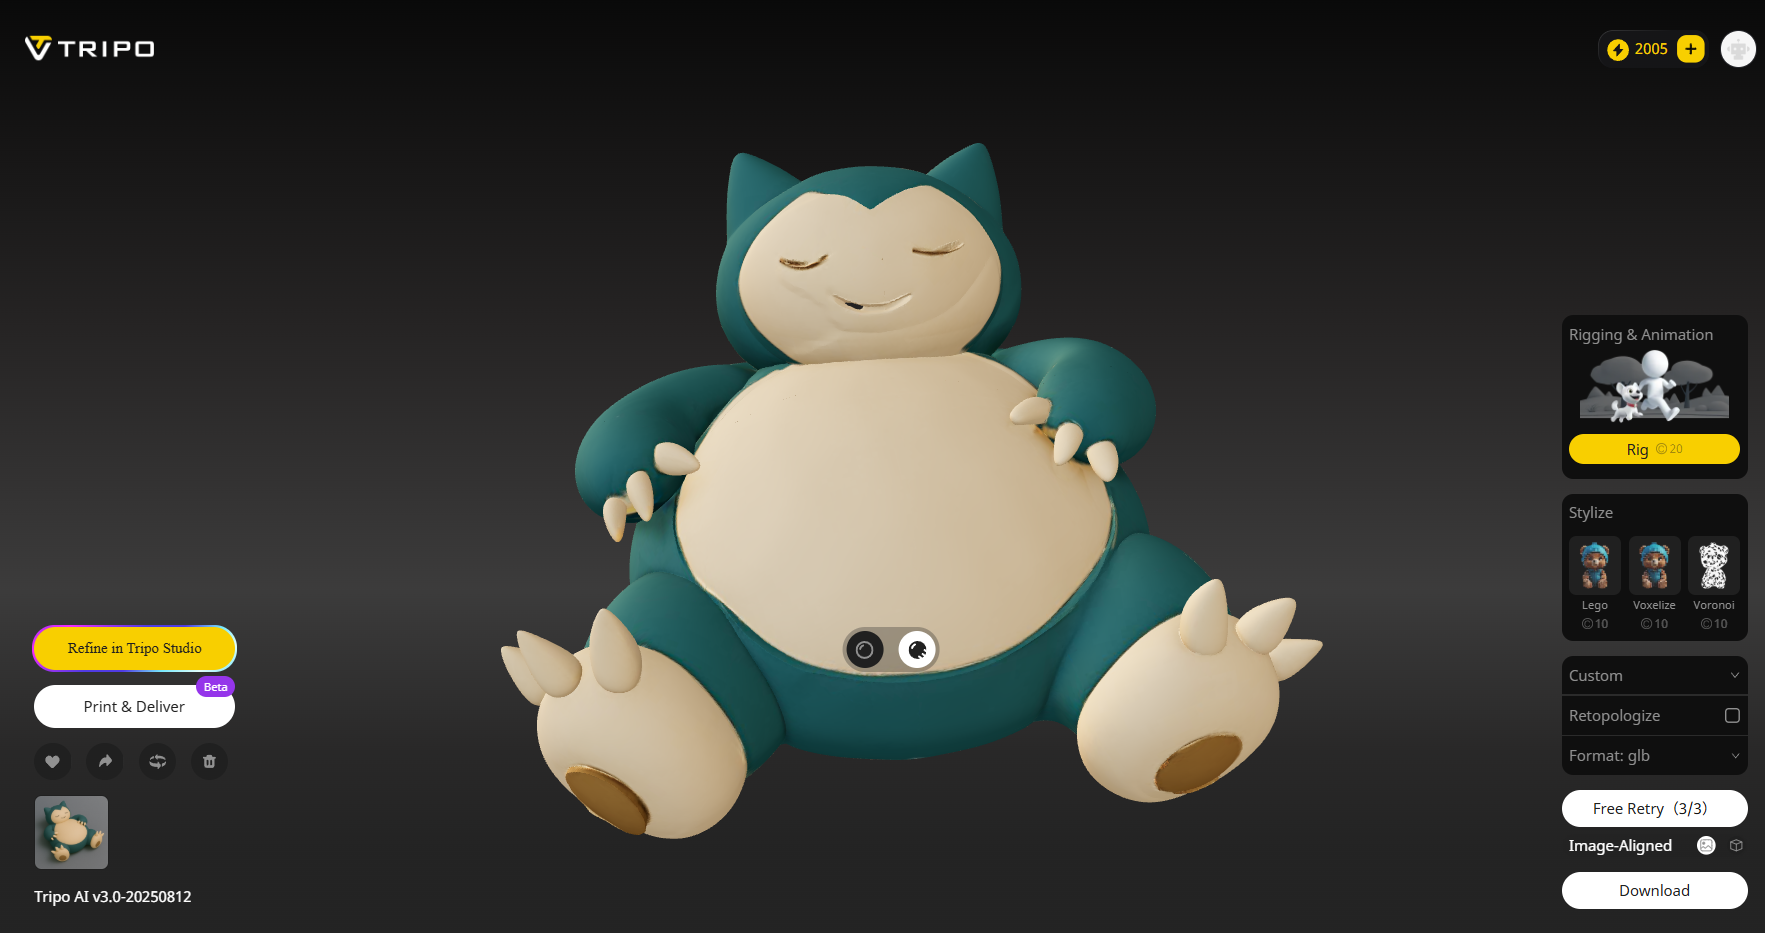
This is a generated Snorlax Image by ChatGPT
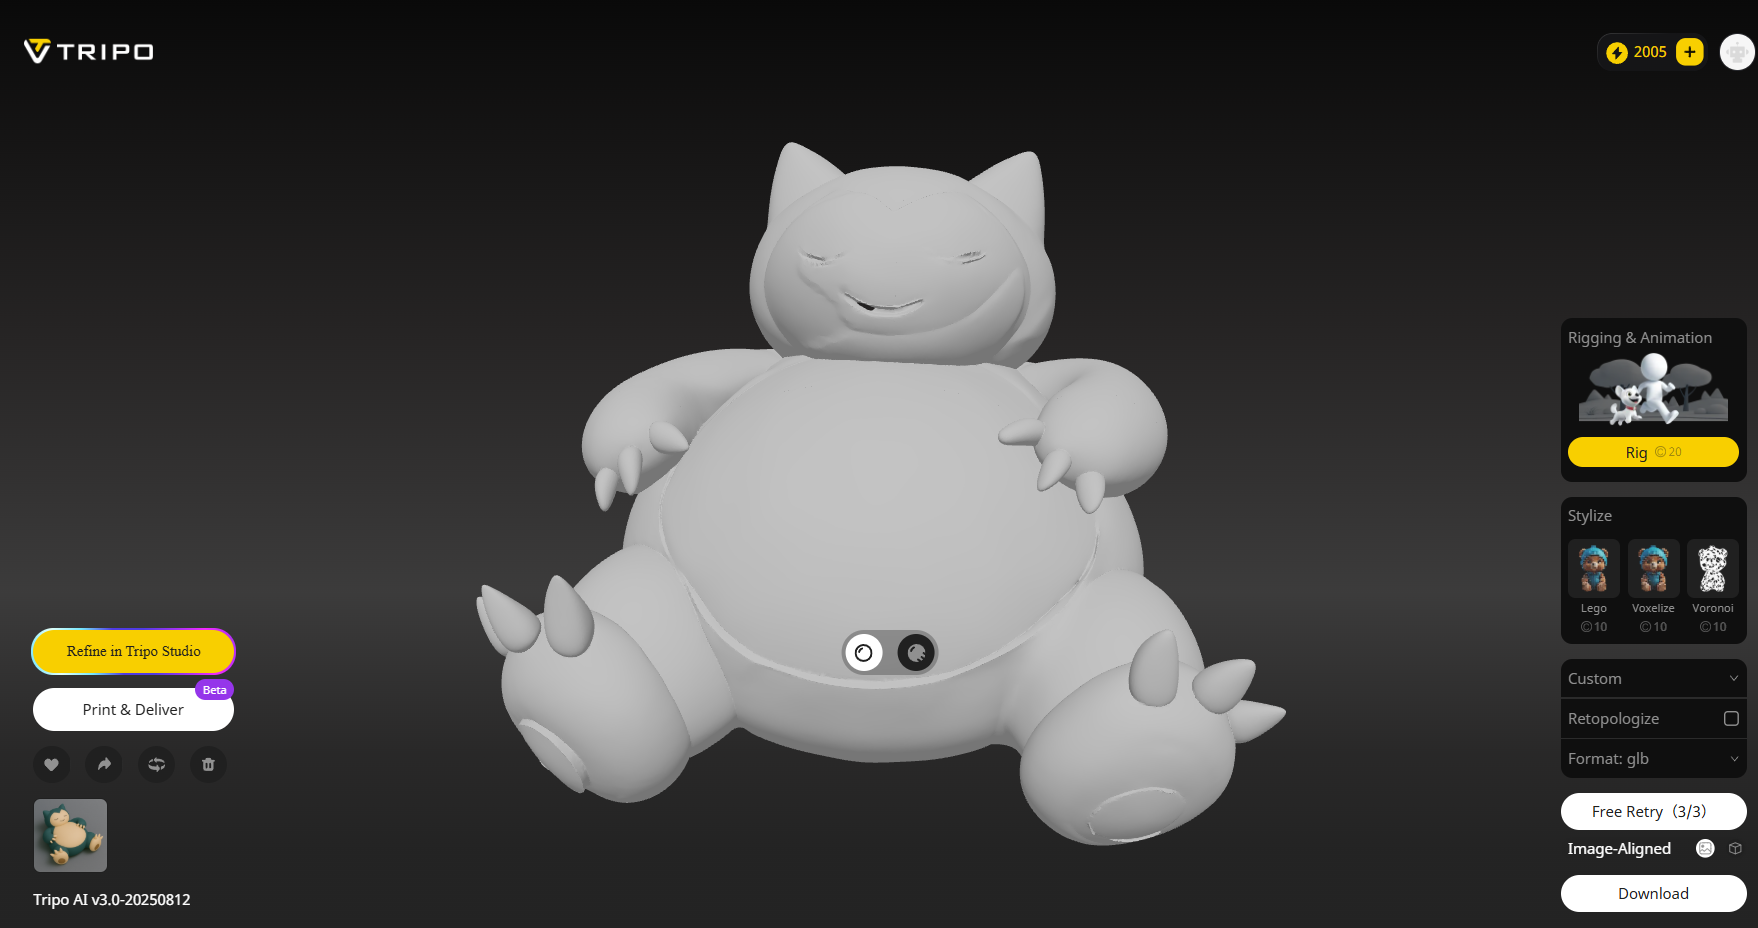
We can then use it to generate a 3D model in Tripo AI
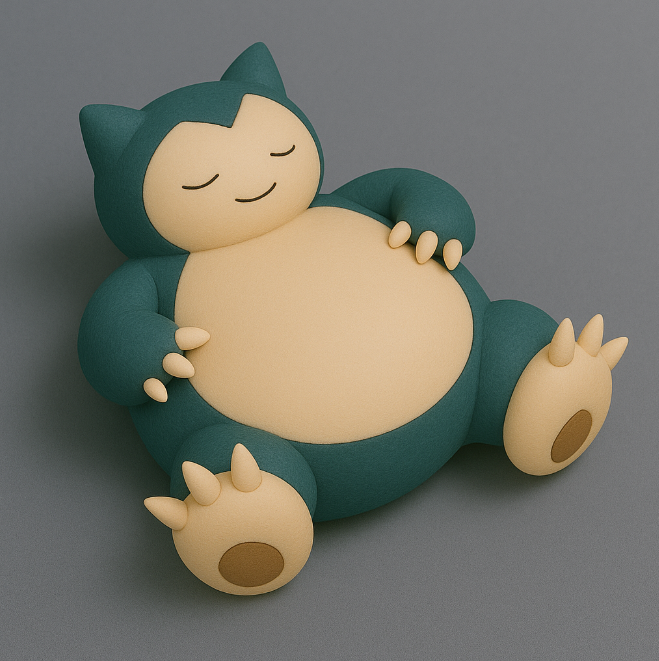
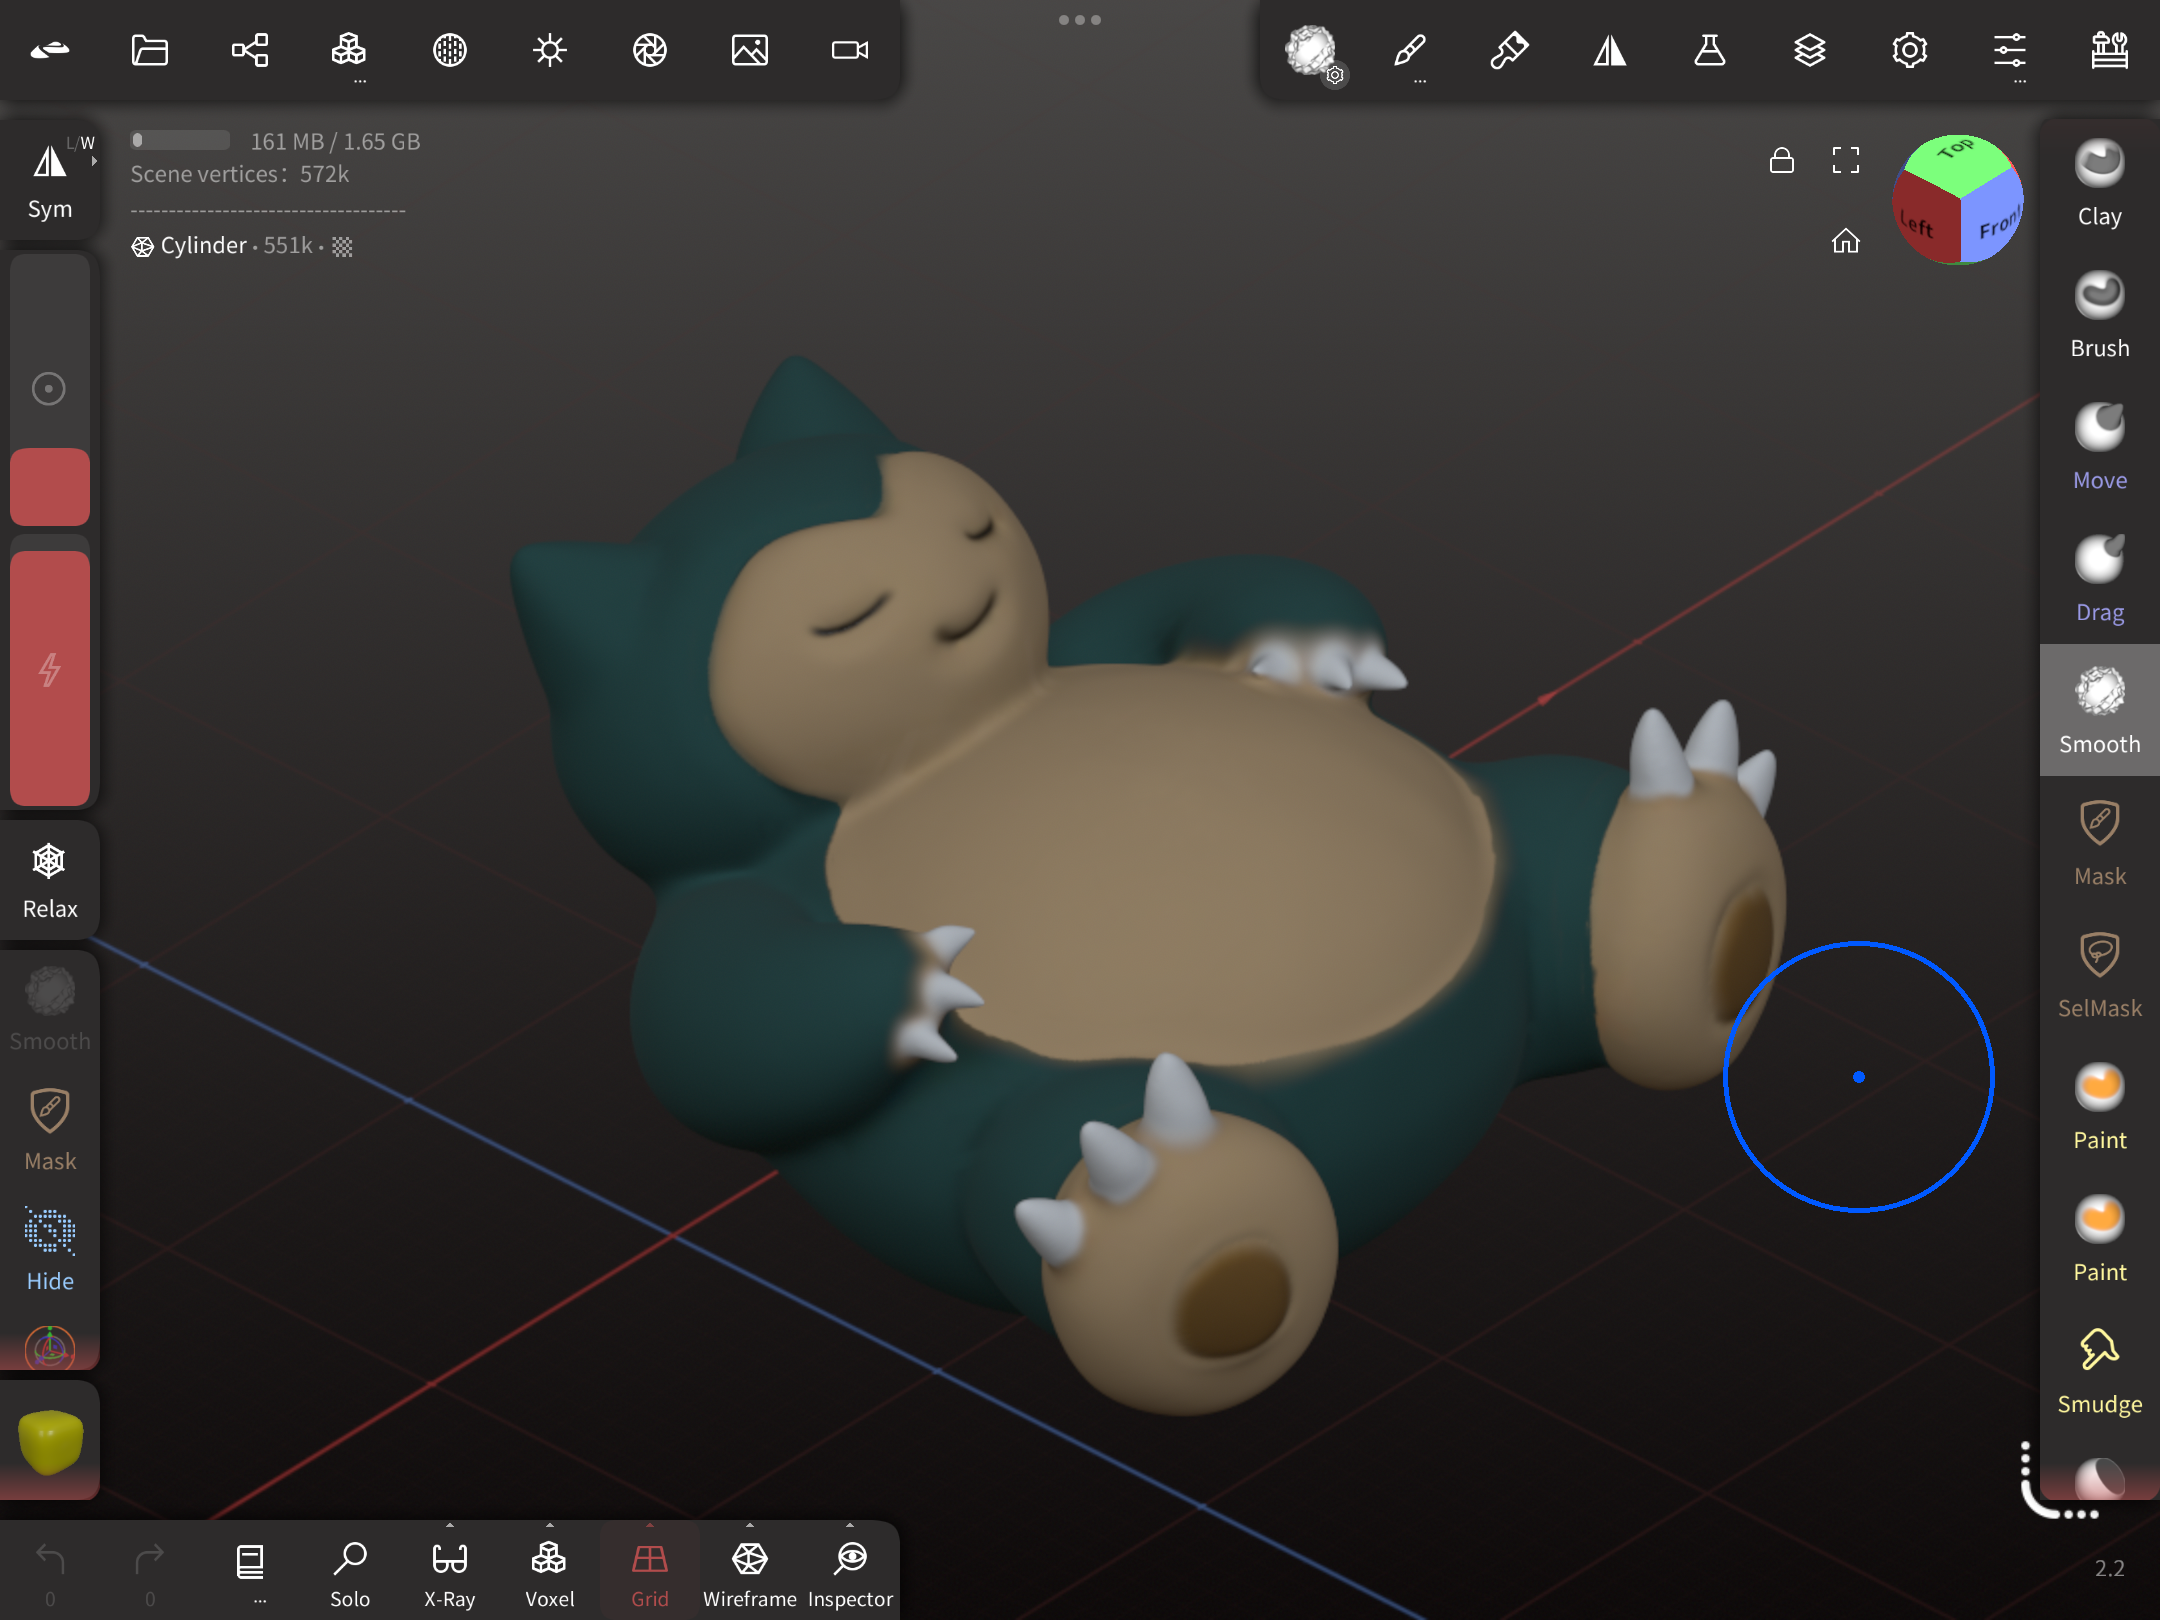
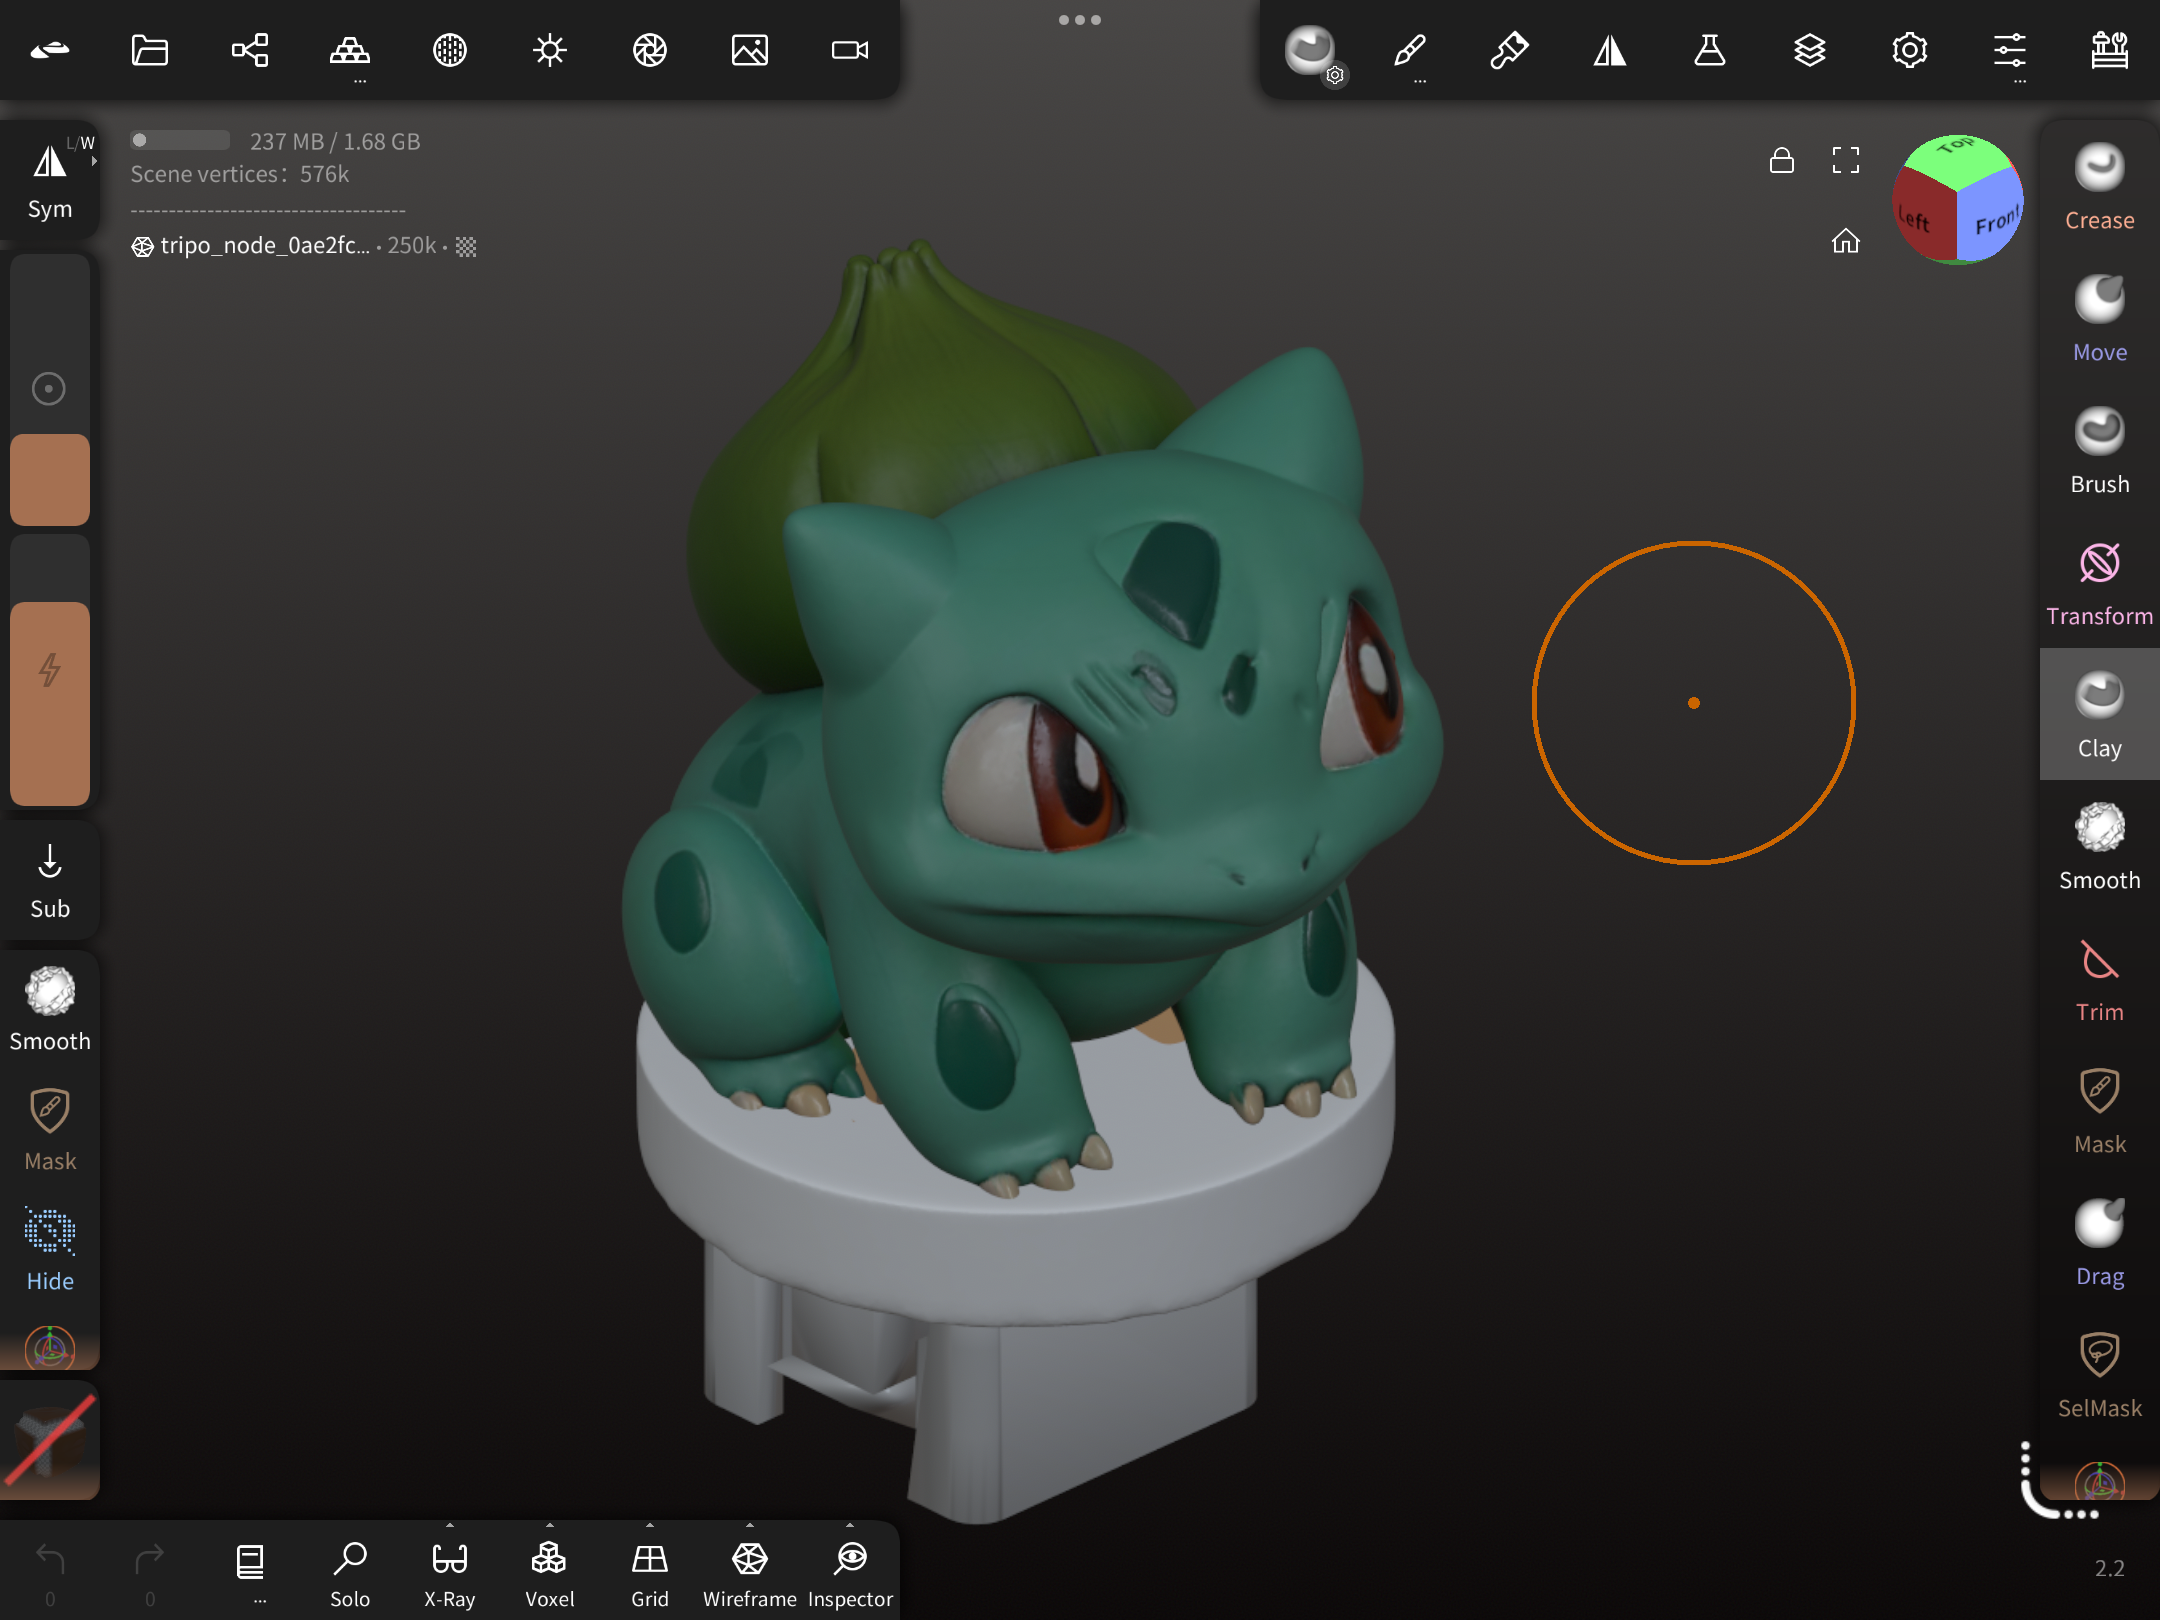
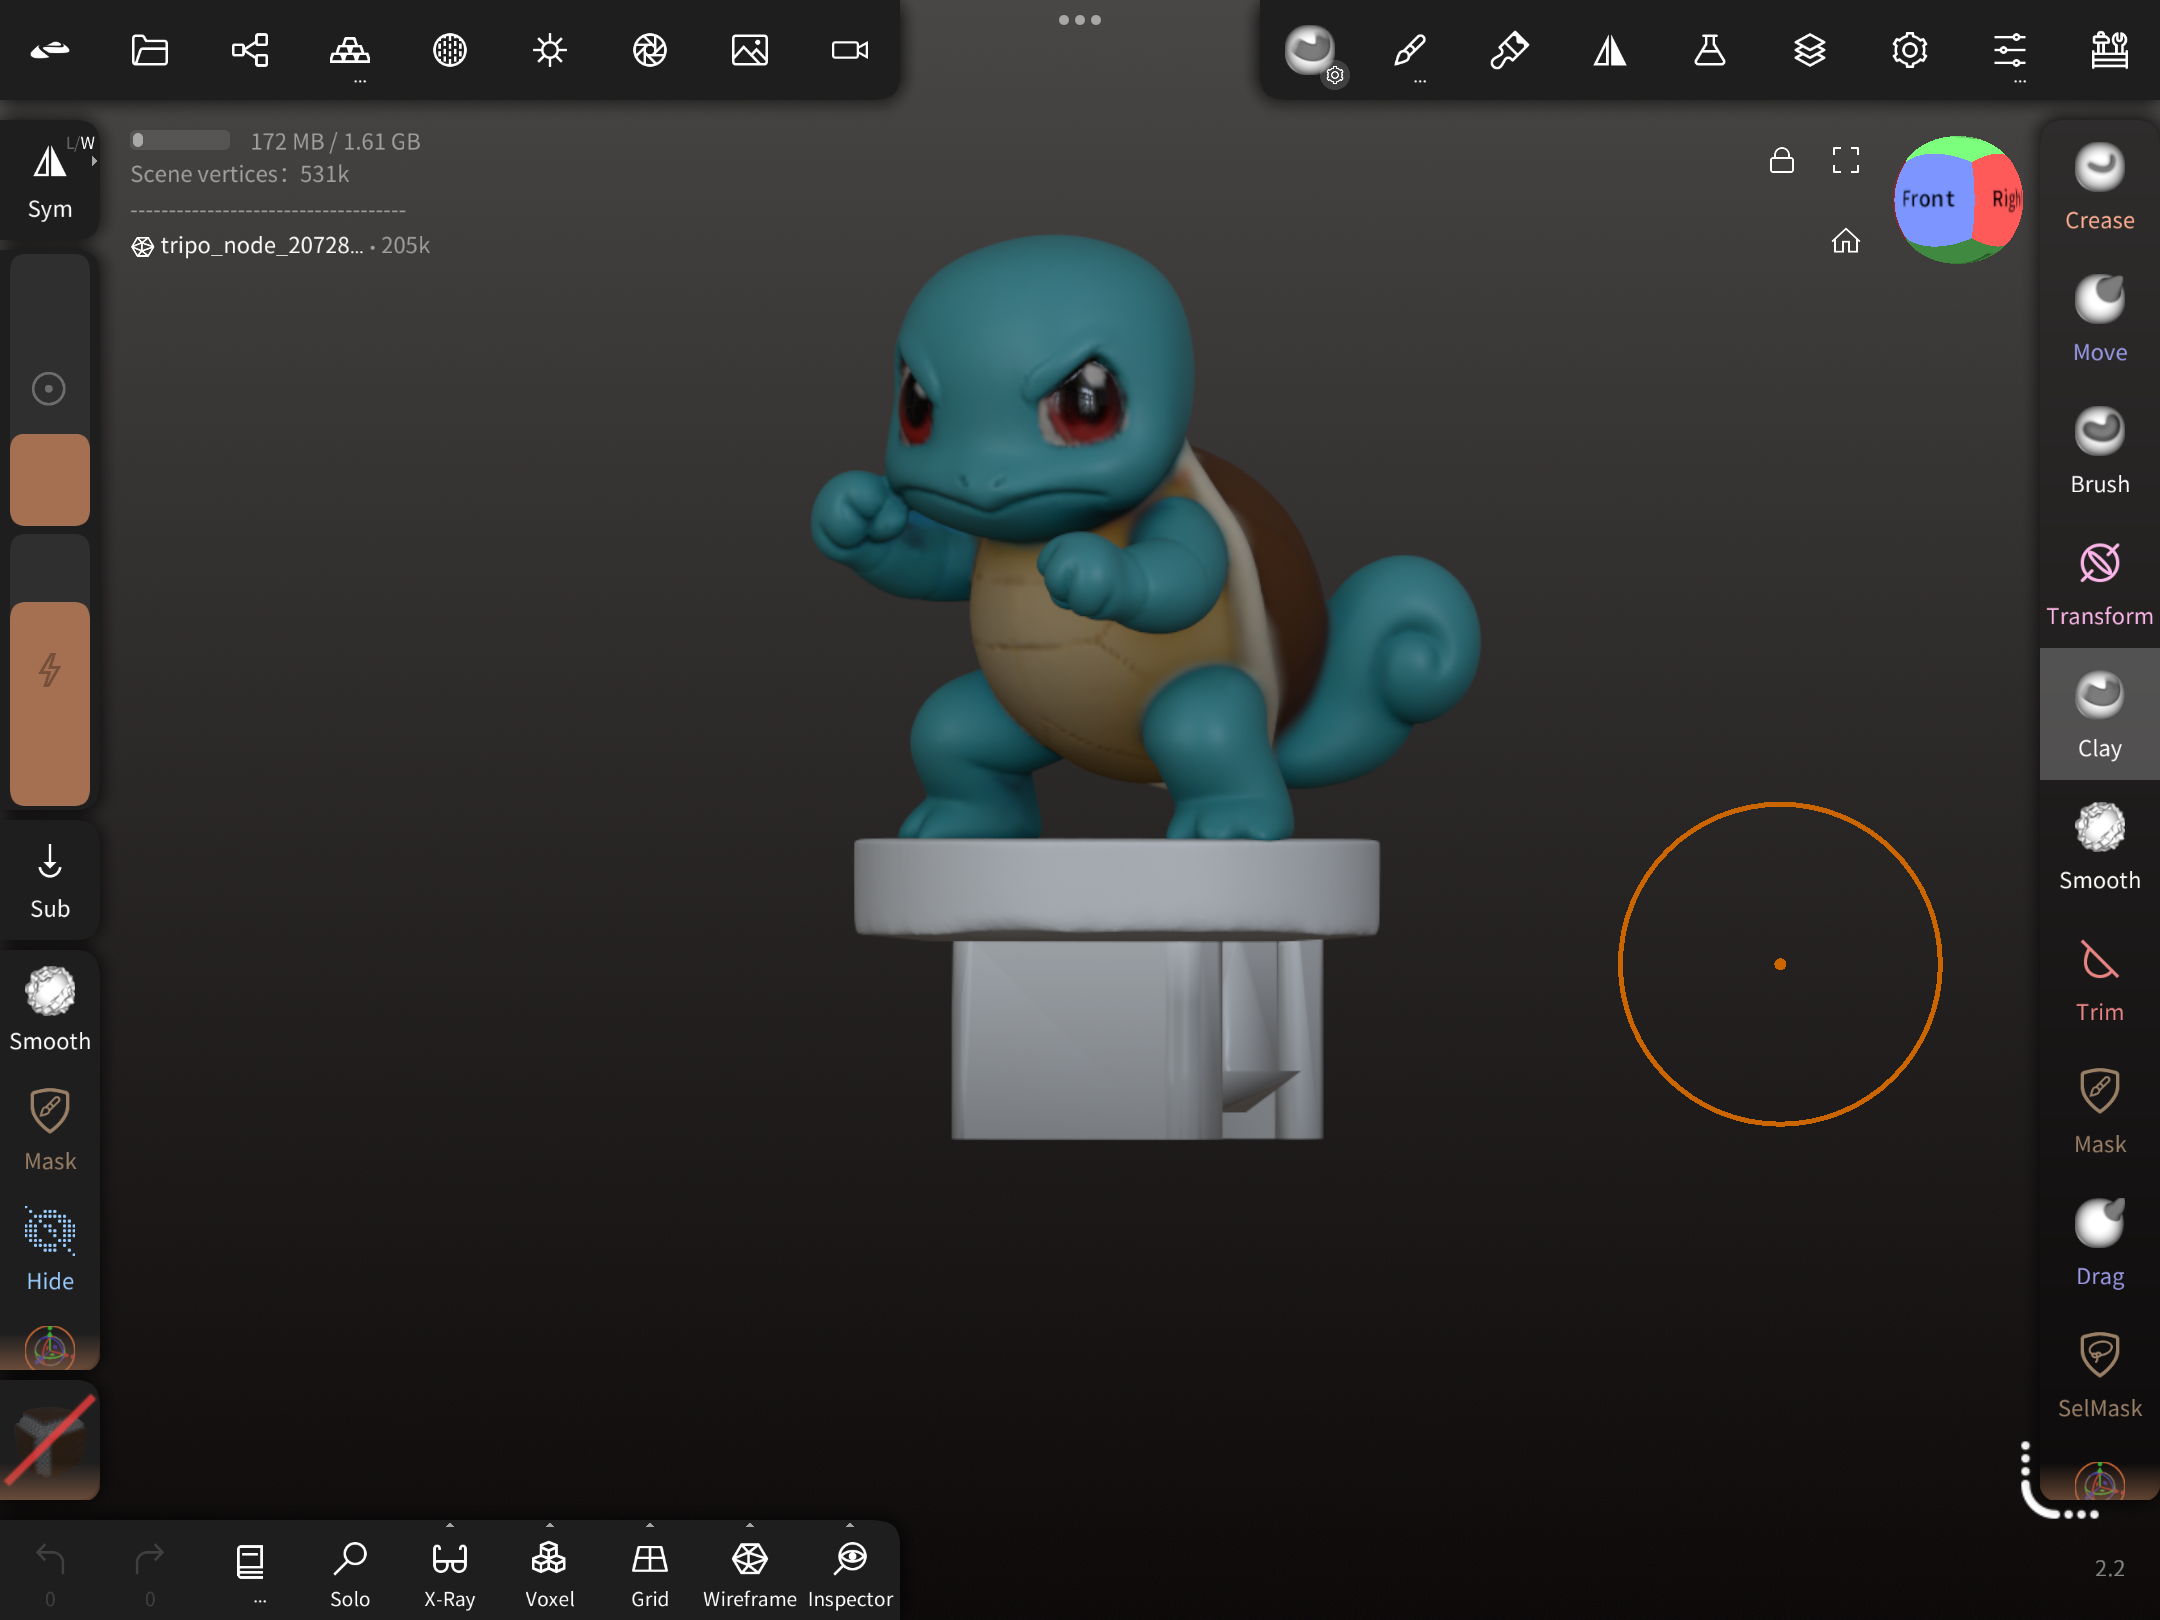
In most cases AI generated models are flawed, we can then import it to Nomad Sculpt and fine tune it with the built-in tools
These are the edited designs in Nomad along with some other examples.
3. Prepare for 3D Printing
Objective: Export and slice the keycap model for printing.
Contents:
- Export the finished keycap model.
- Import the model into your slicer software (e.g., Bambu Studio).
- Adjust orientation for best print quality.
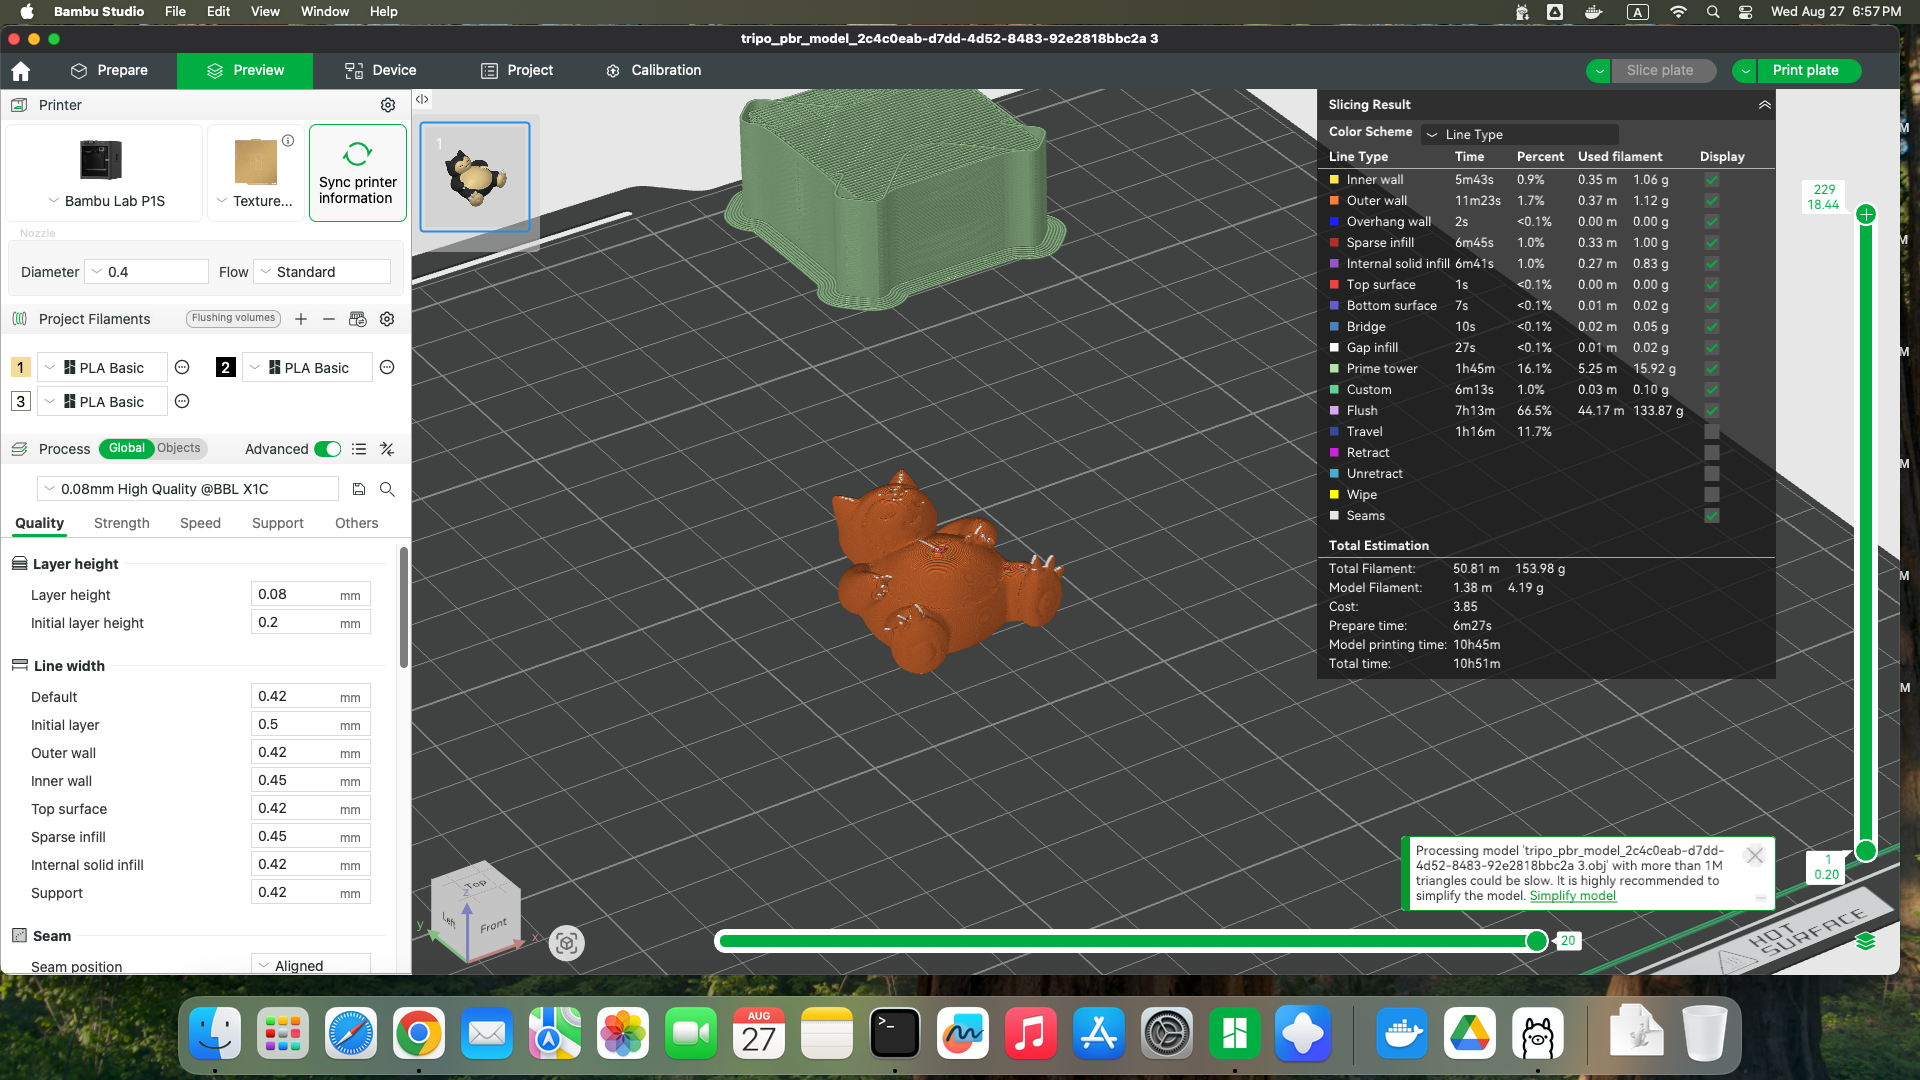
- Configure print settings:
- Layer height: 0.08-0.1mm for detail
- Infill: about 10%
- Supports: Enable for tree support
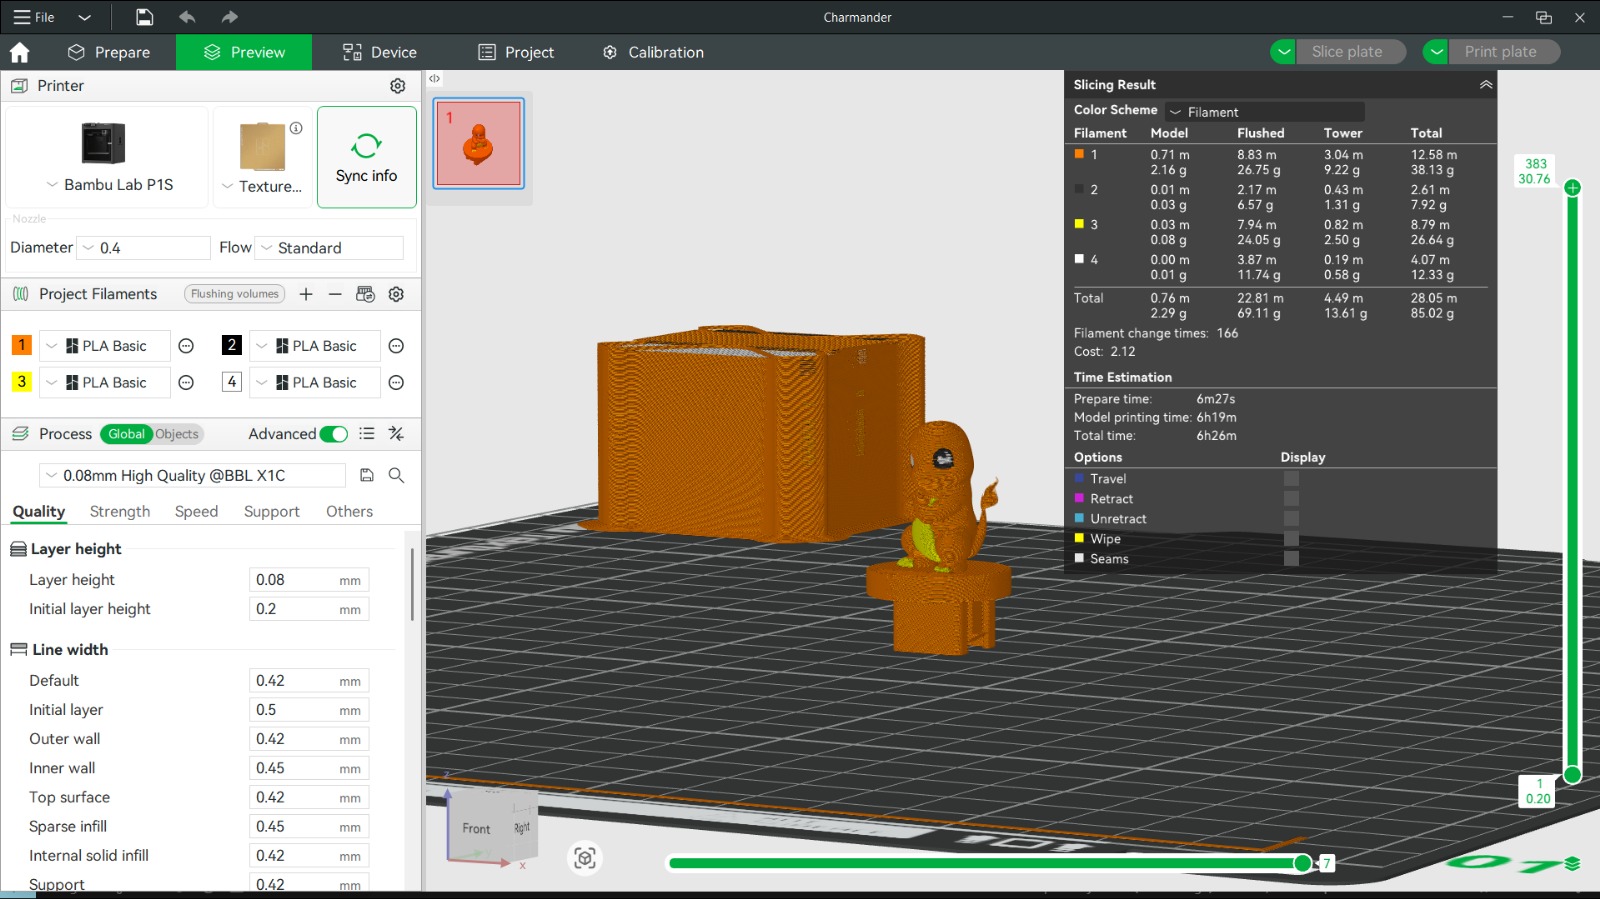
- Optional: Use AMS of Bambu Printers to print multi-colour prints.
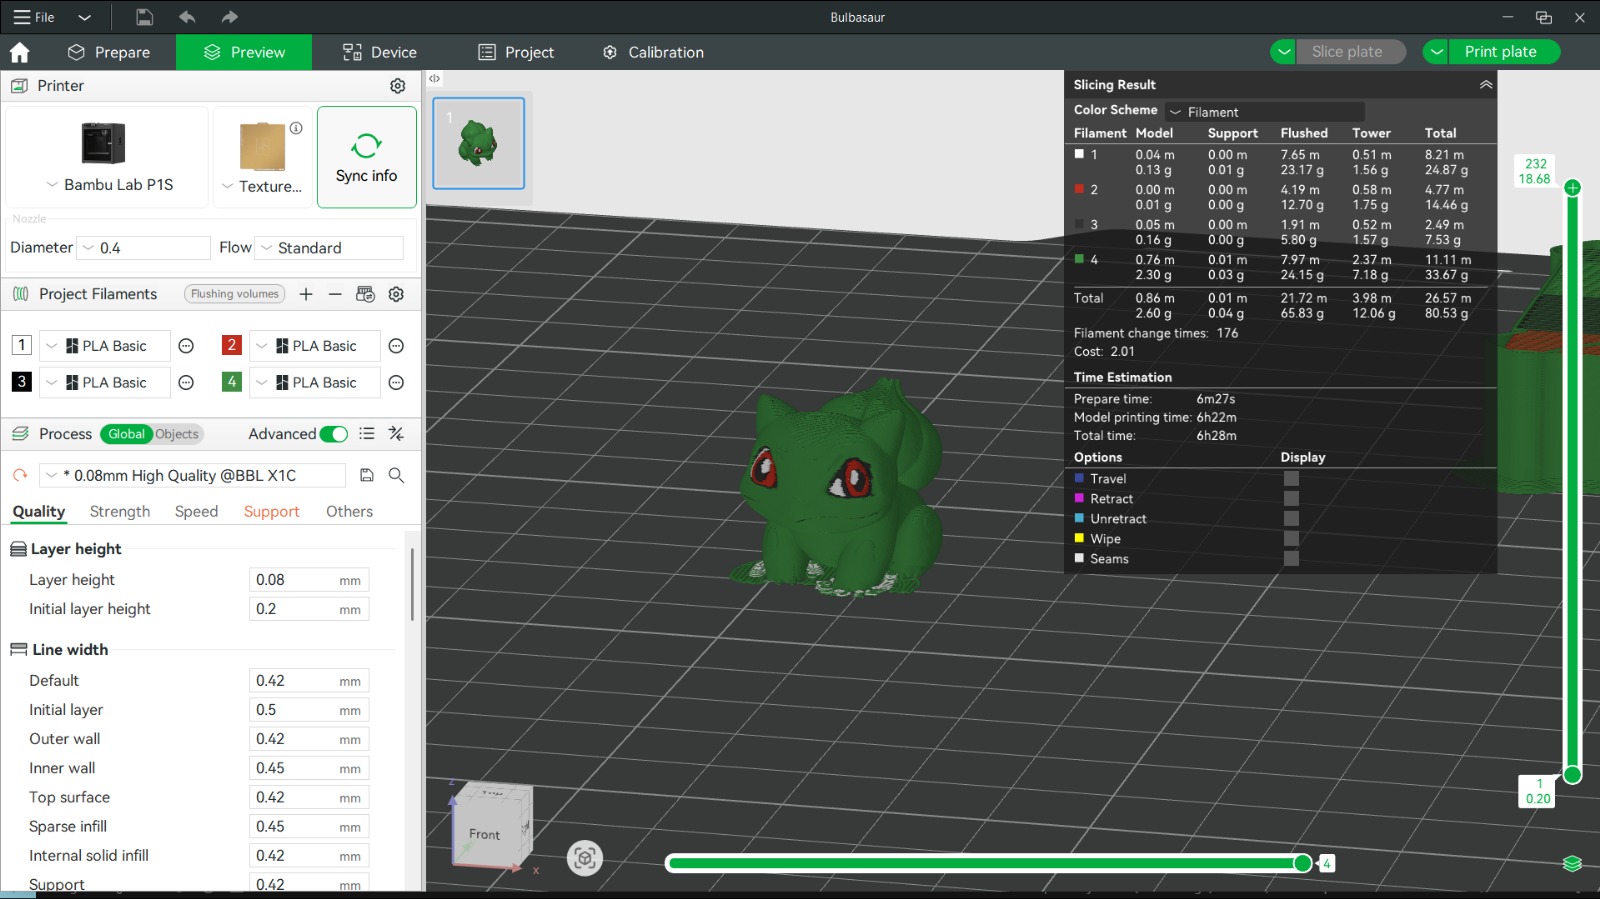
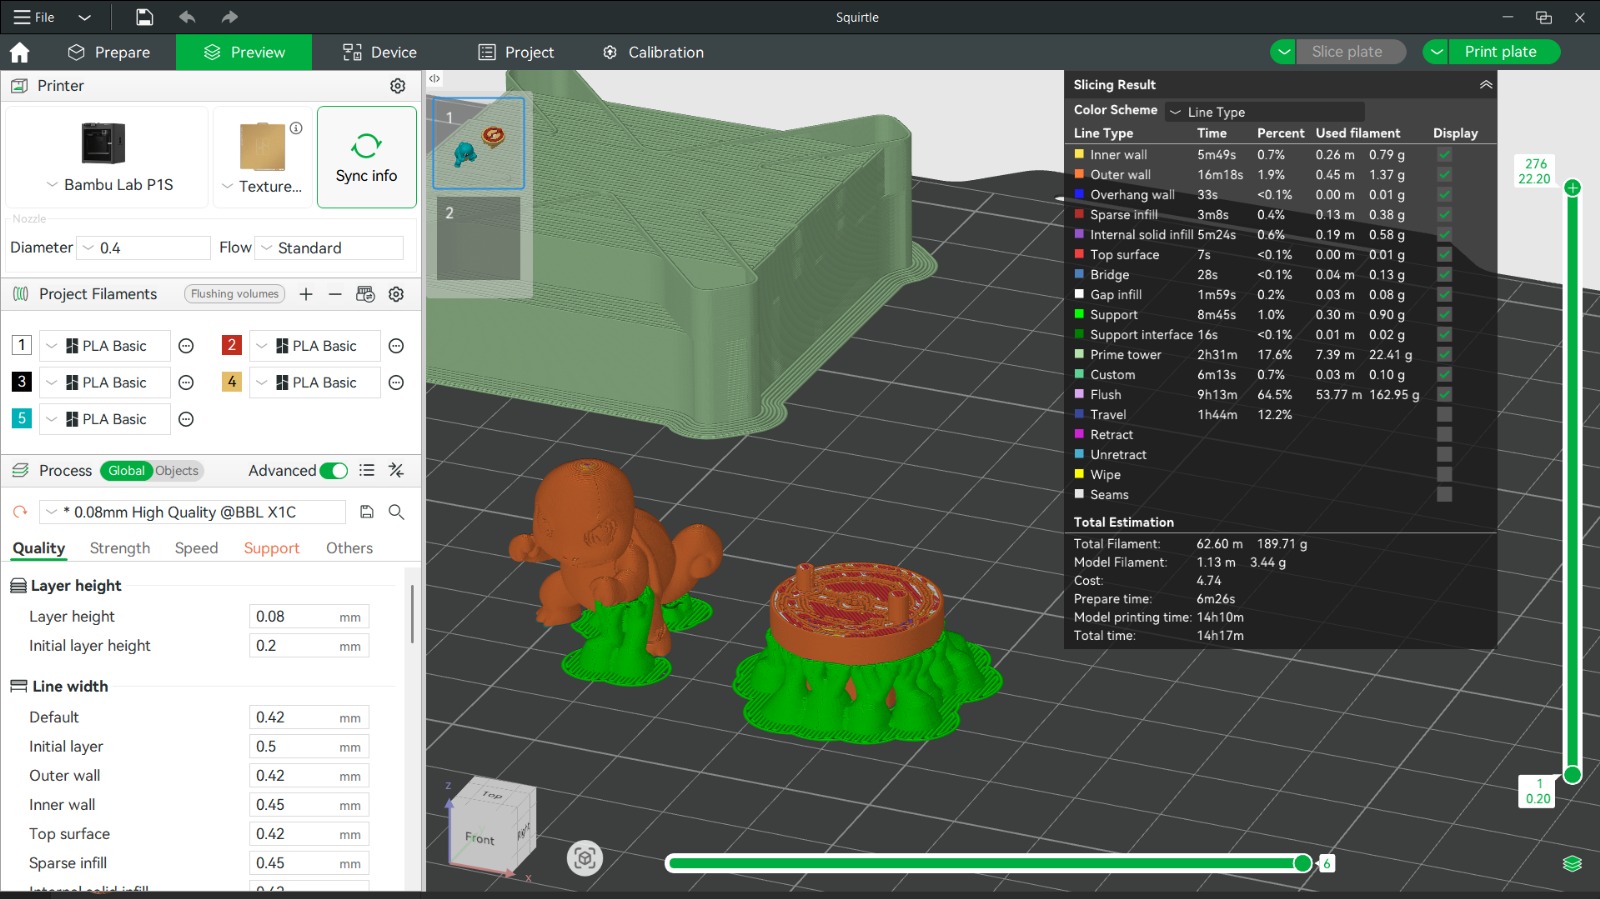
- Slice and preview the print.
Slicer preview:
4. Finish Your Customised Keycap
Objective: Post-process the customised keycap.
Content:
Post-Processing
- Remove the print and clean up any supports or rough edges.
- Sand the surfaces for a smooth finish, especially the stem area.
- (Optional) Paint the your model:
- Use acrylic paint to make the model more colourful.
- Add gloss or matte varnish for different effects.
Finished keycap:
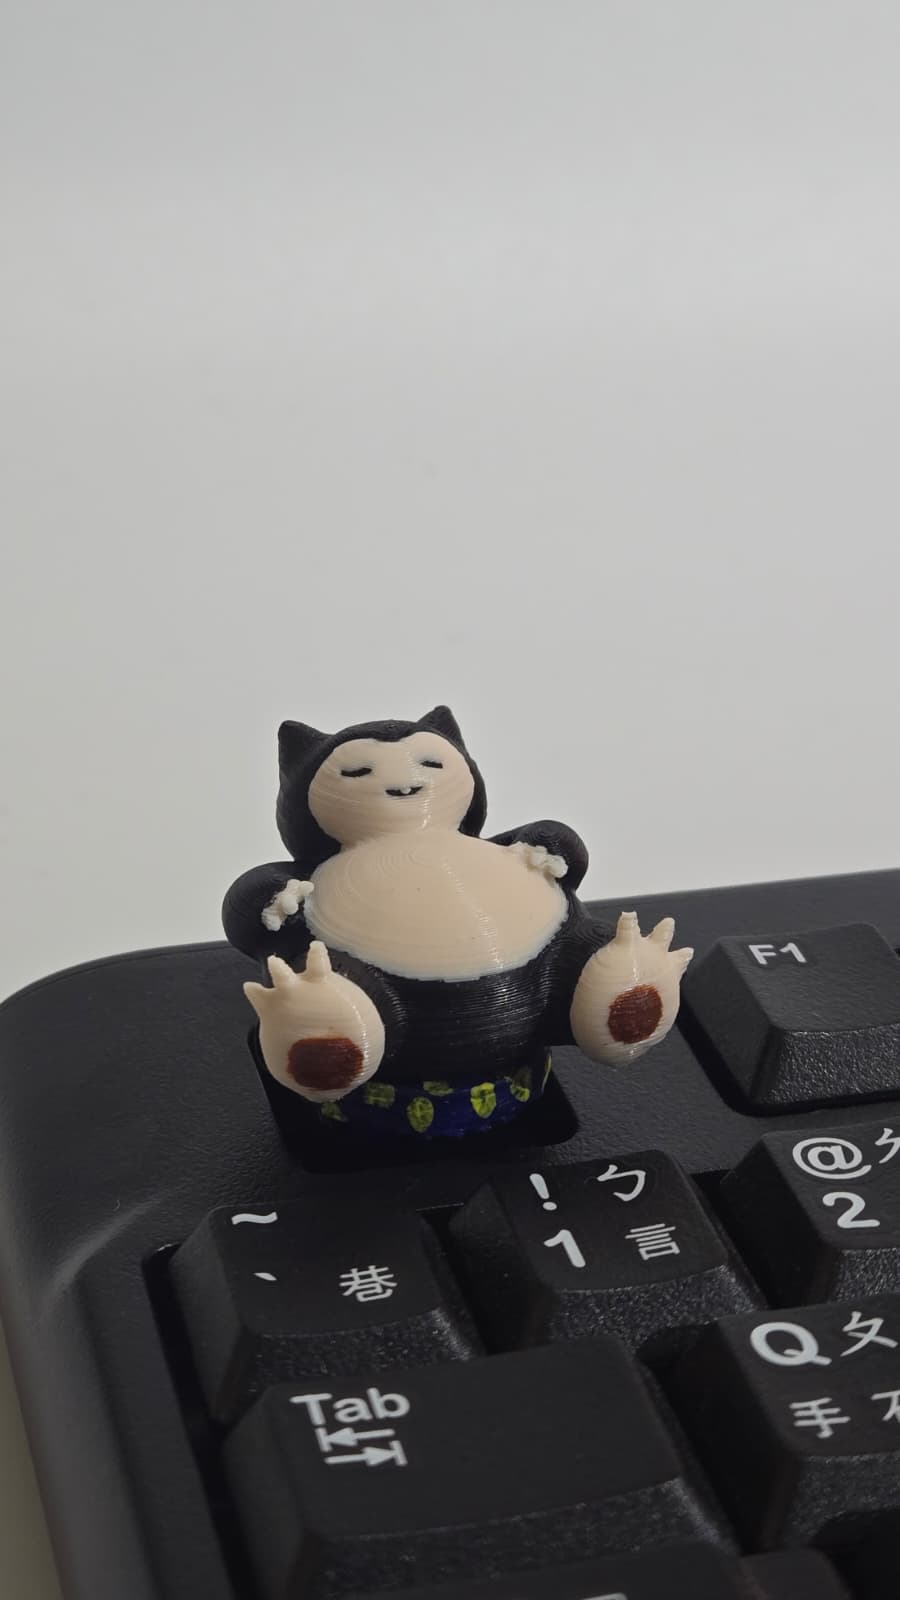
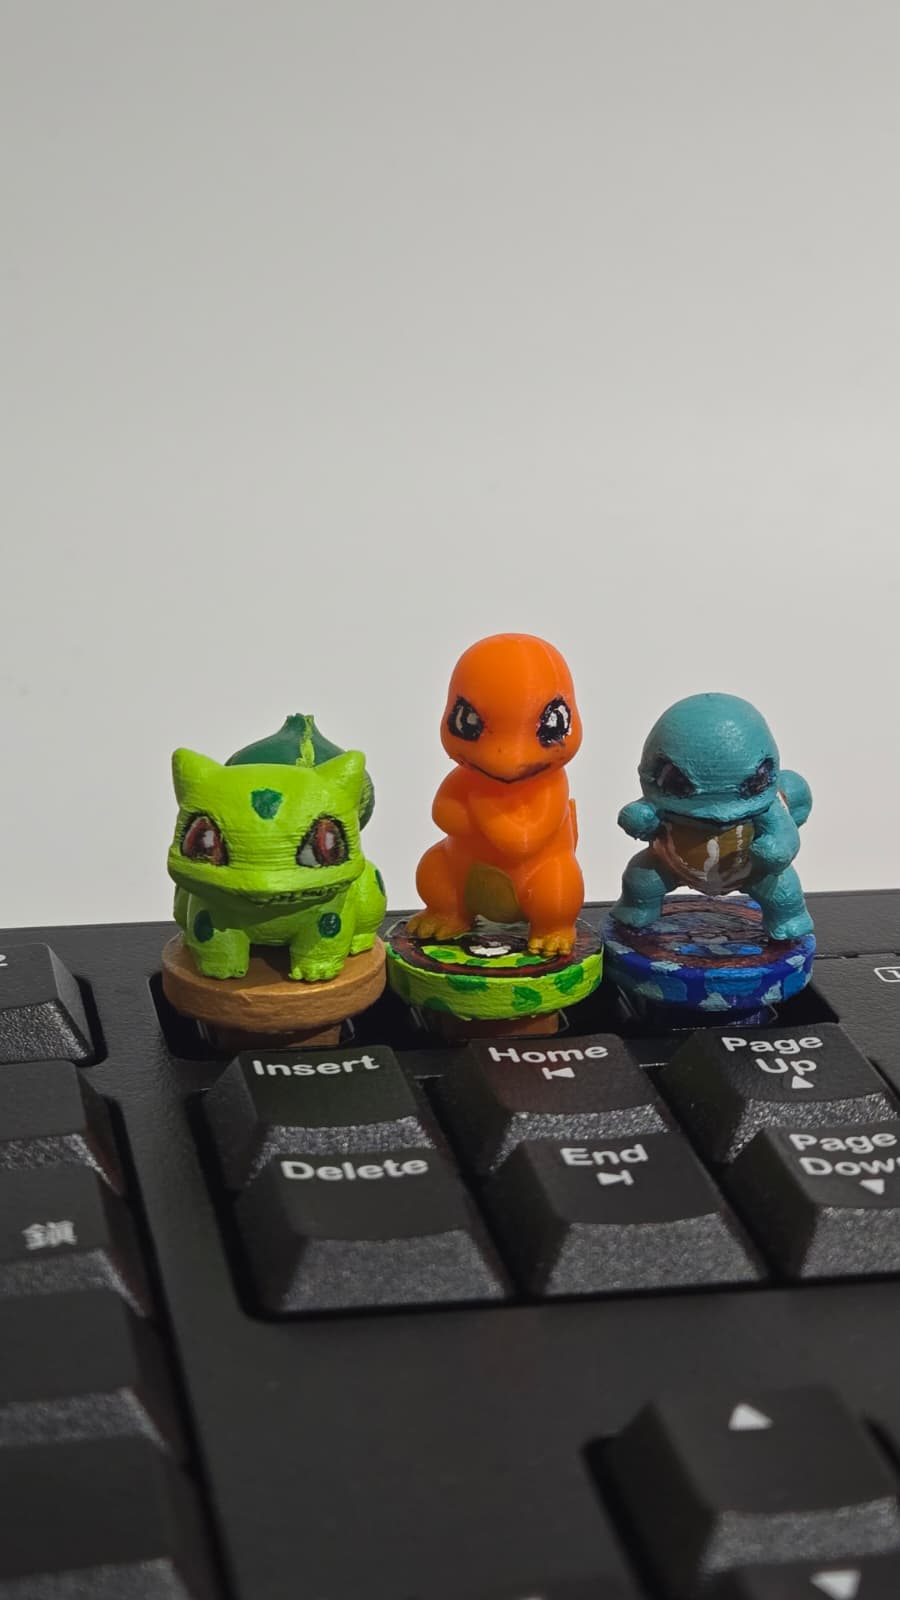
- Test fit the keycap on your keyboard. Make adjustments if needed.
Tip:
- Beginners and younger makers can focus on steps 2-4, using a provided keycap base.
- Intermediate students can try with a given drawing.
- Advanced students are encouraged to start from scratch, measuring and modeling the keycap base themselves for a complete engineering and design experience.
Optional Projects
Multi-Color Printing
- Use multi-color filament to print the frosting and base in different colors.
Other Themed Keycaps
- Design and print a series of themed keycaps (e.g., burger, pizza, sushi) for a fun keyboard set.
Keycap Display Stand
- Design and print a small stand to display your keycap when not in use.